RM2PT Tutorial
Import RM2PT project from Git
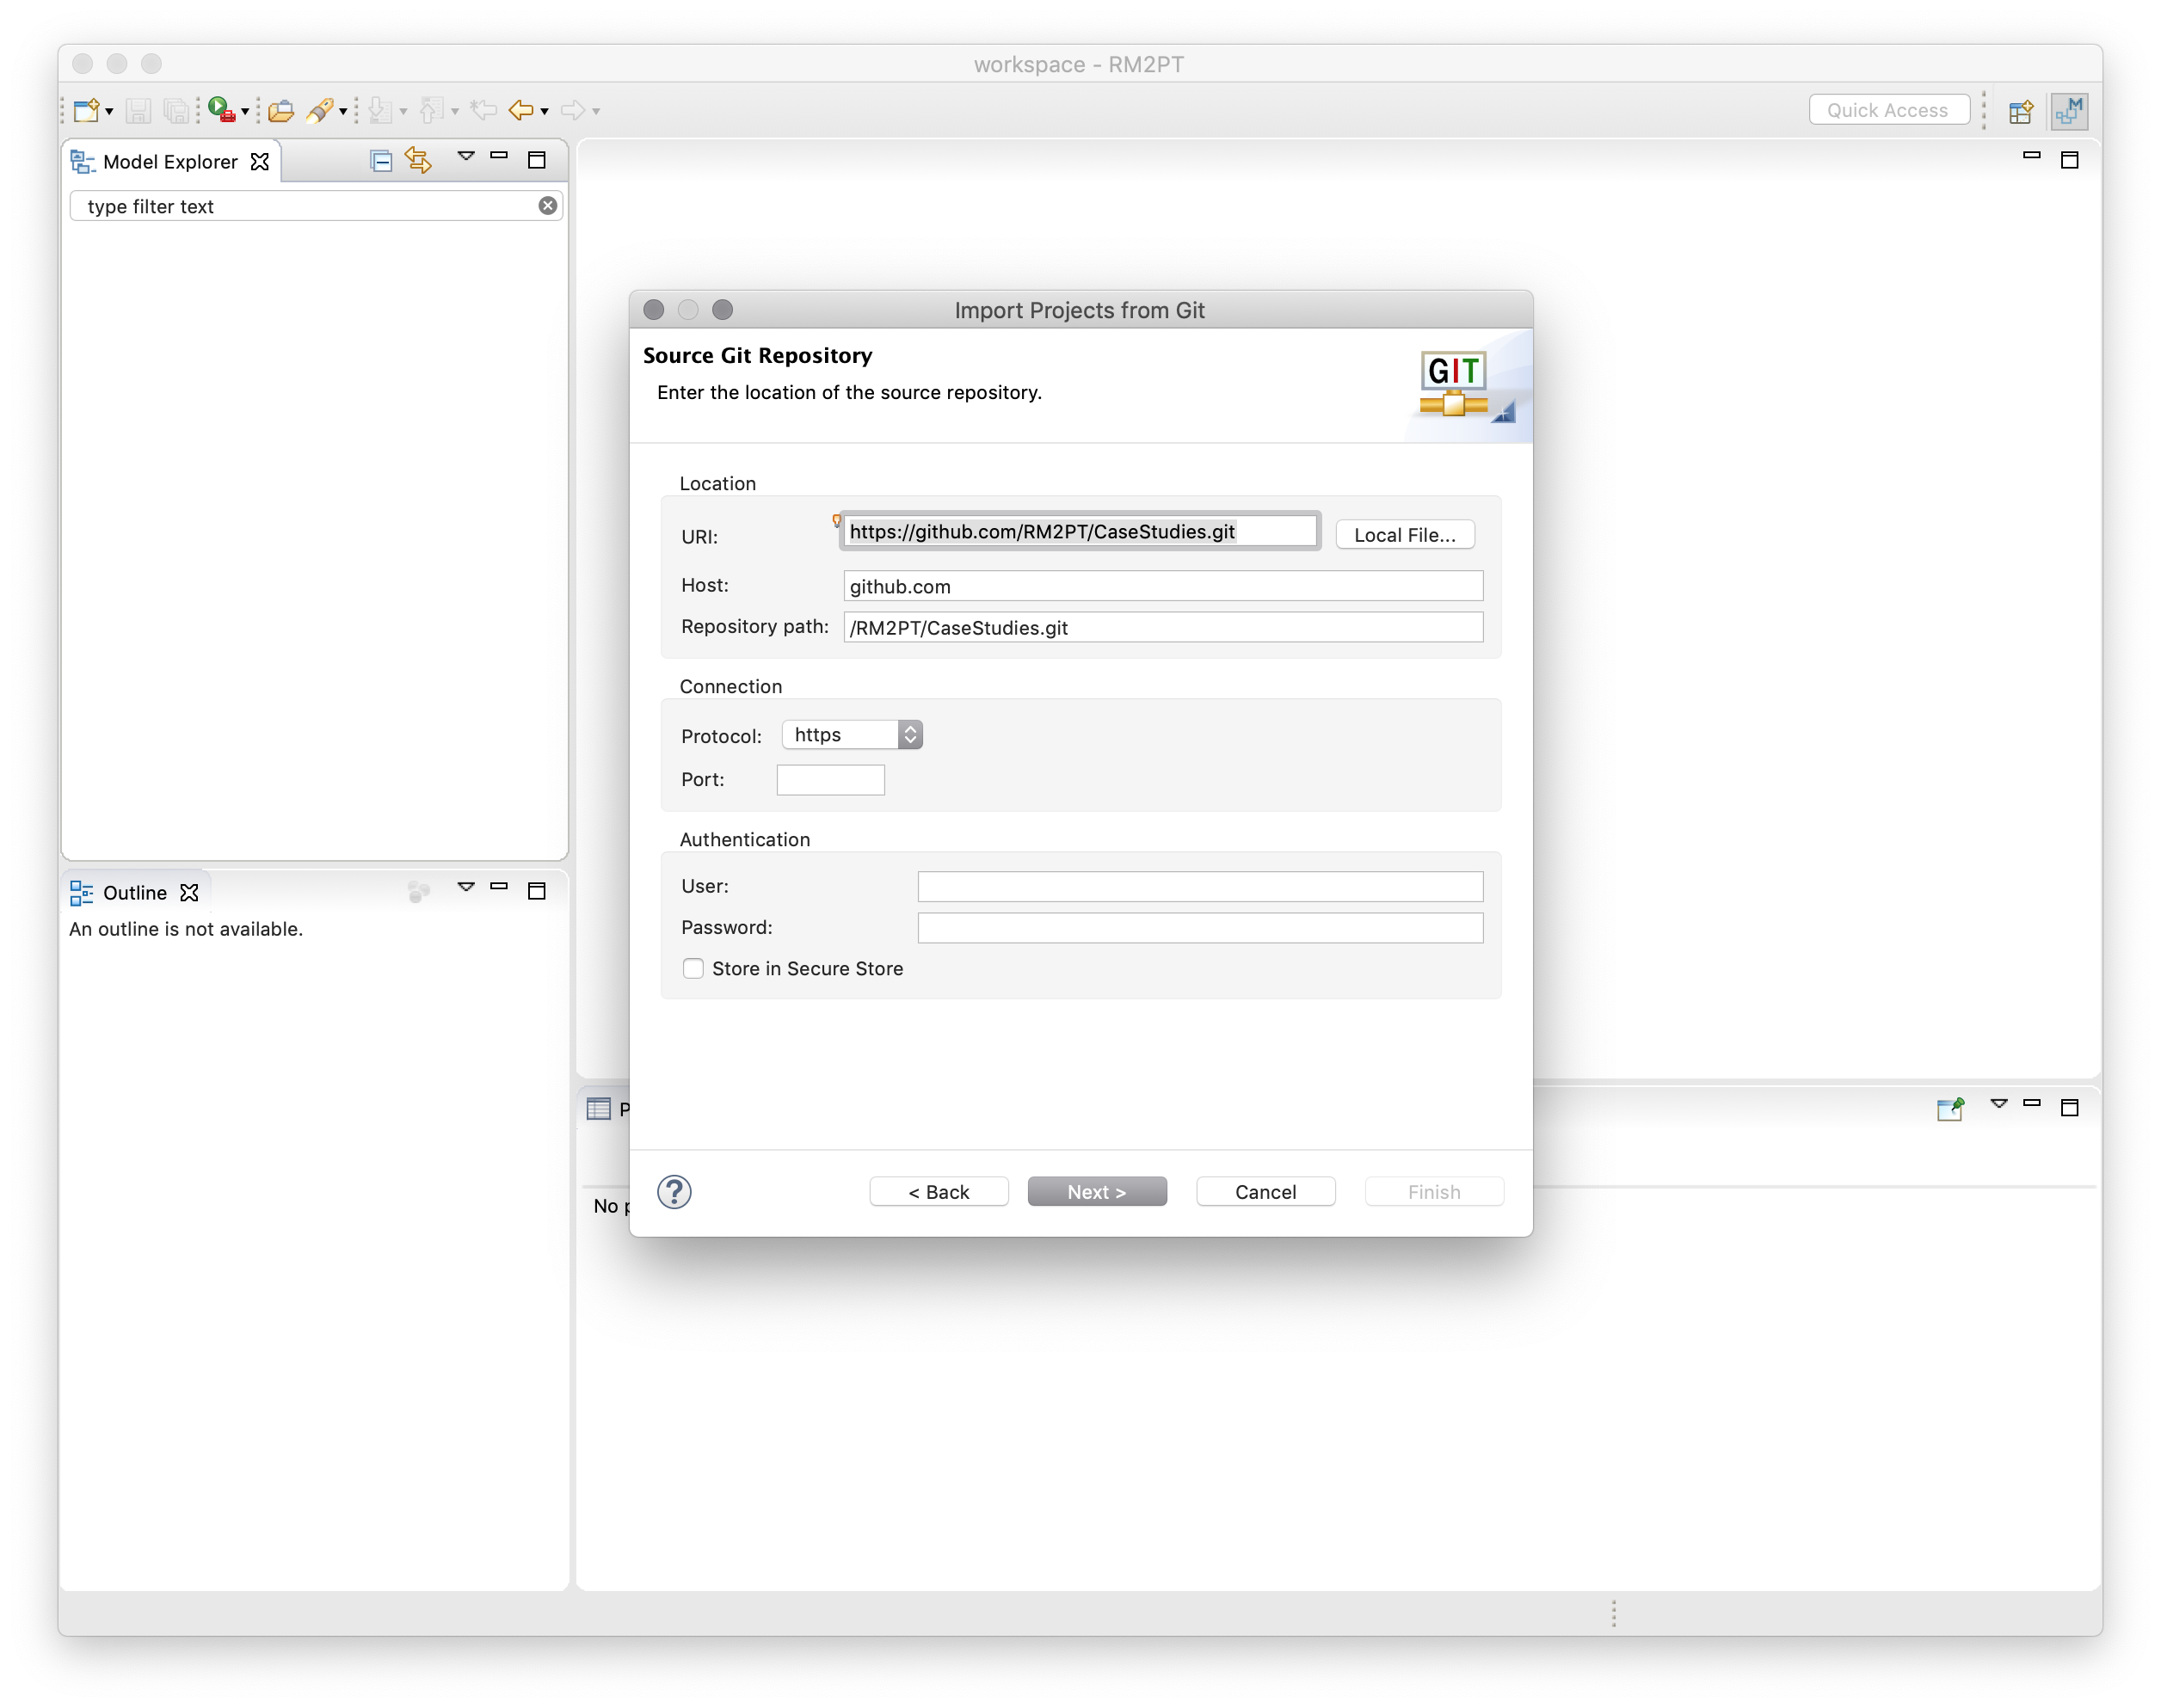
We provides serval RM2PT projects on Github: https://github.com/RM2PT/CaseStudies, you can import them into local by
Right click Model Explorer -> Import
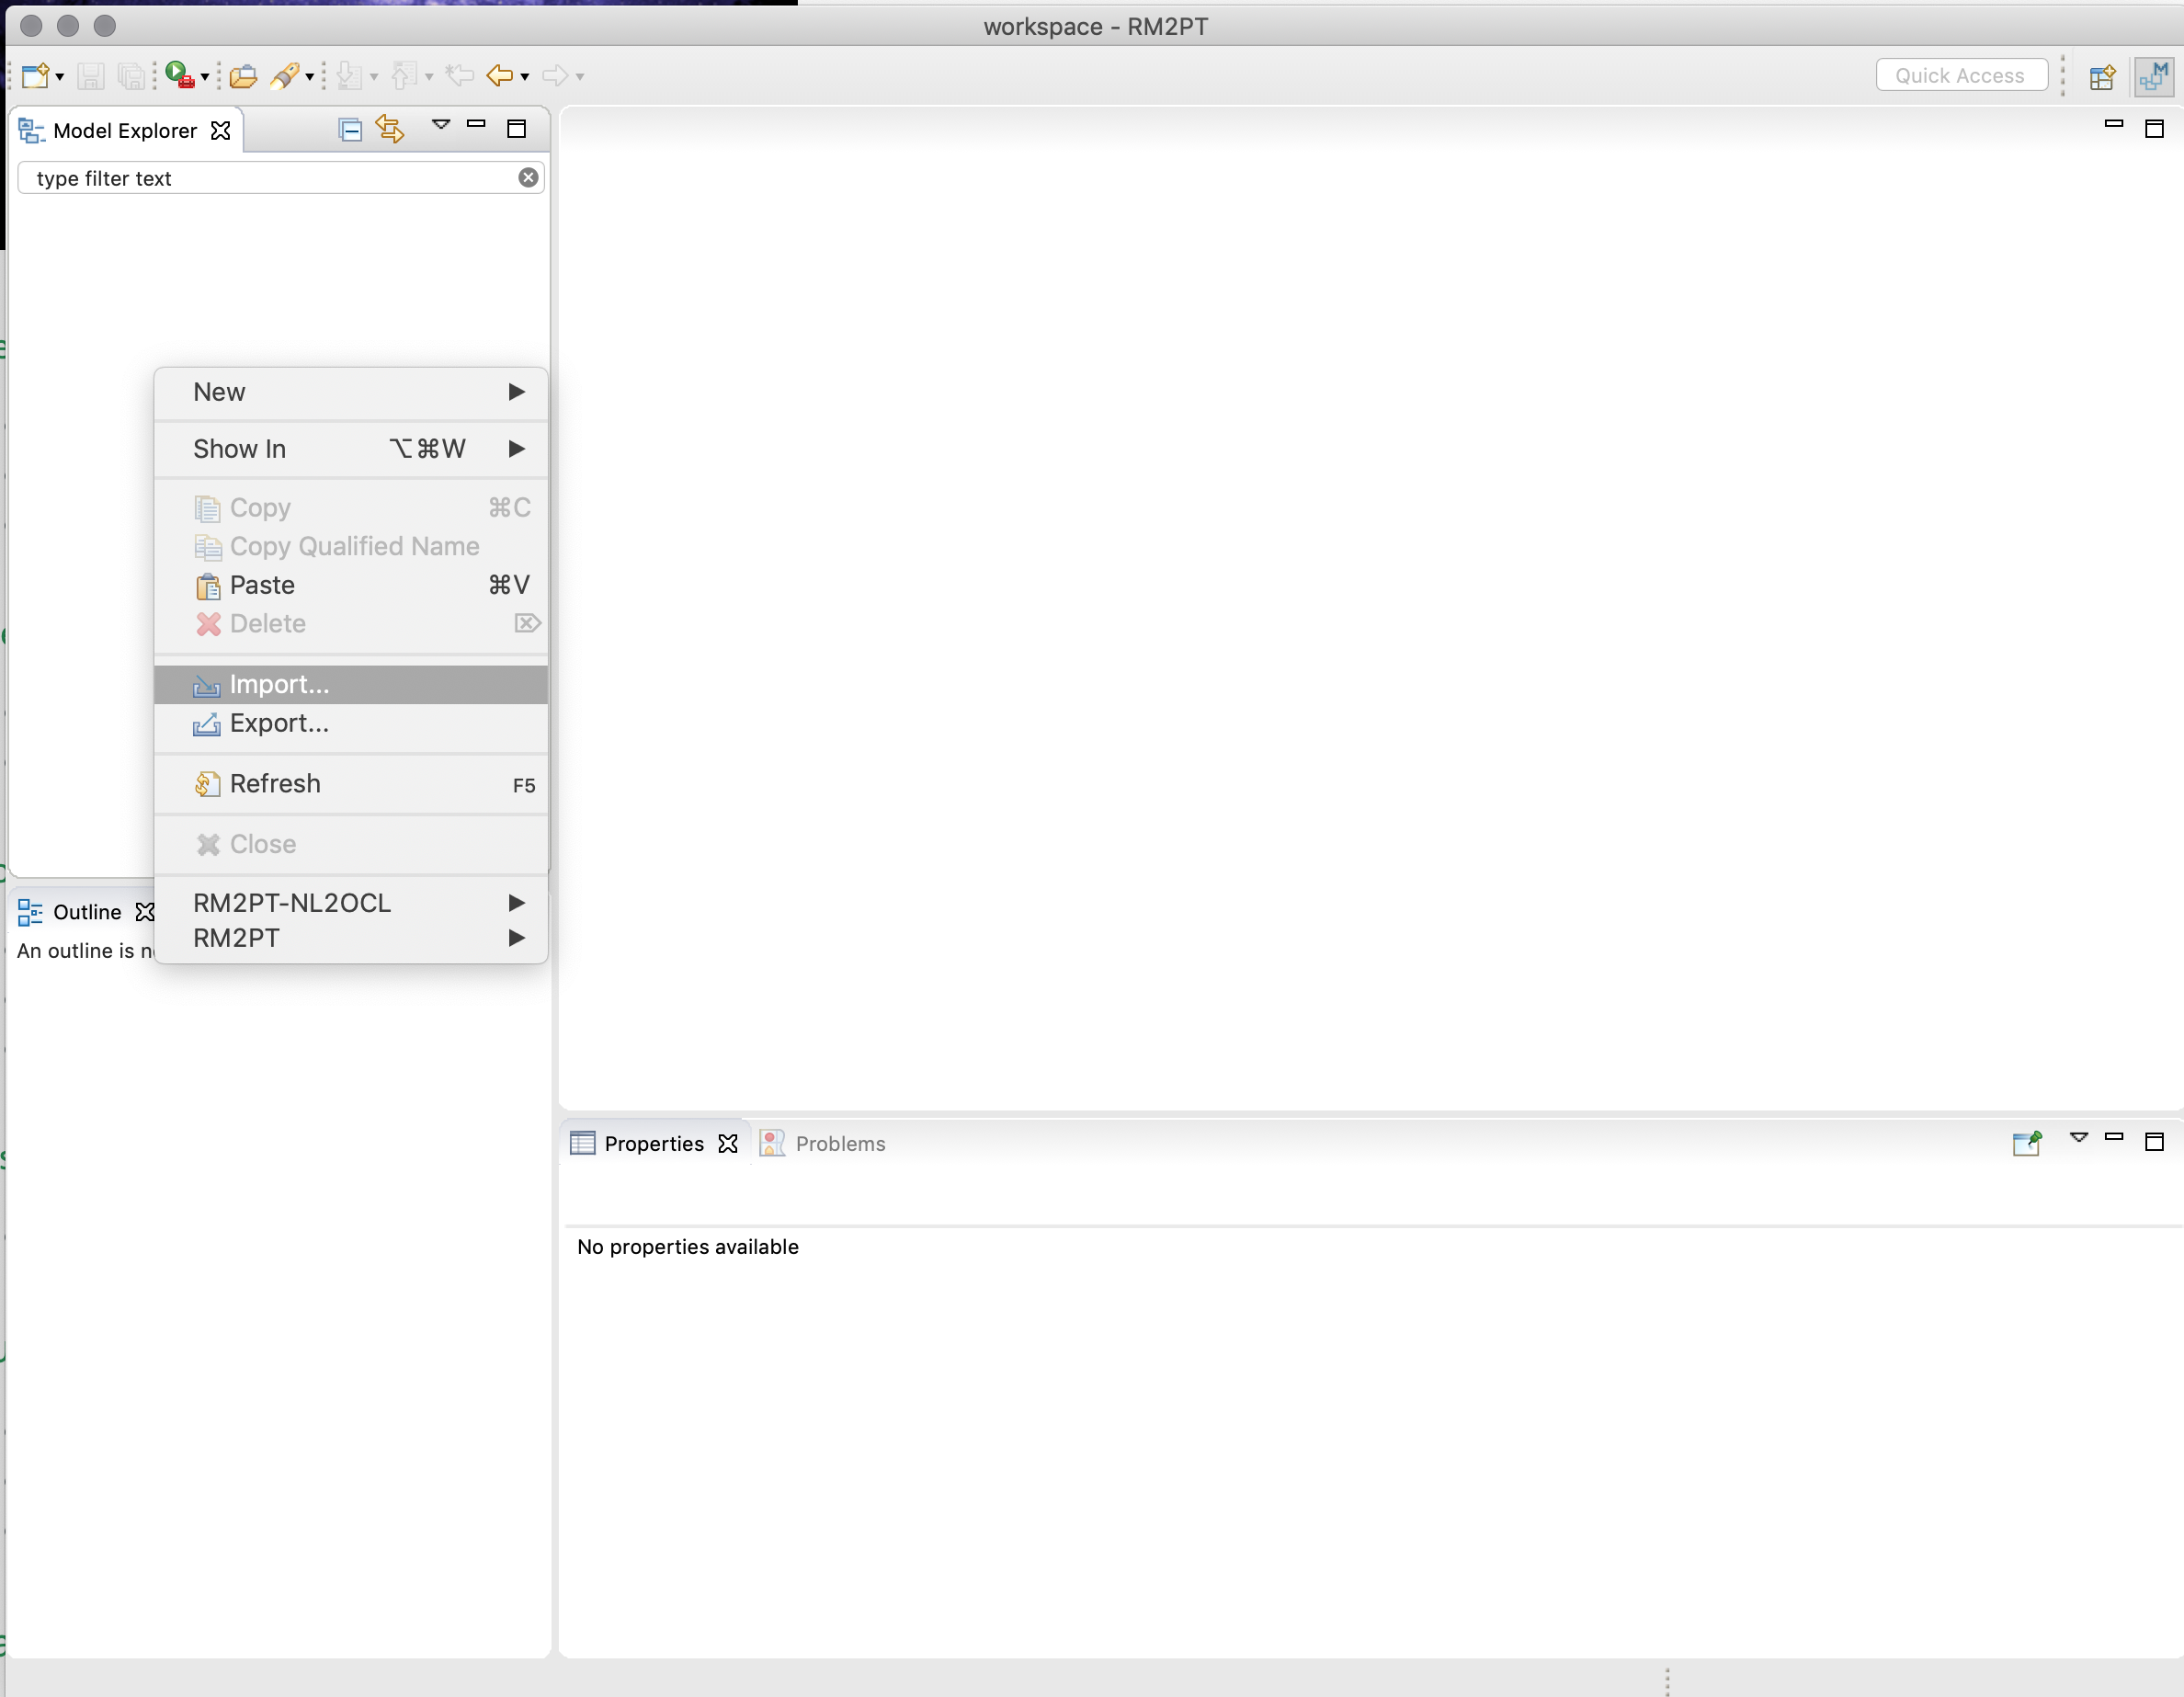
Choose Projects from Git
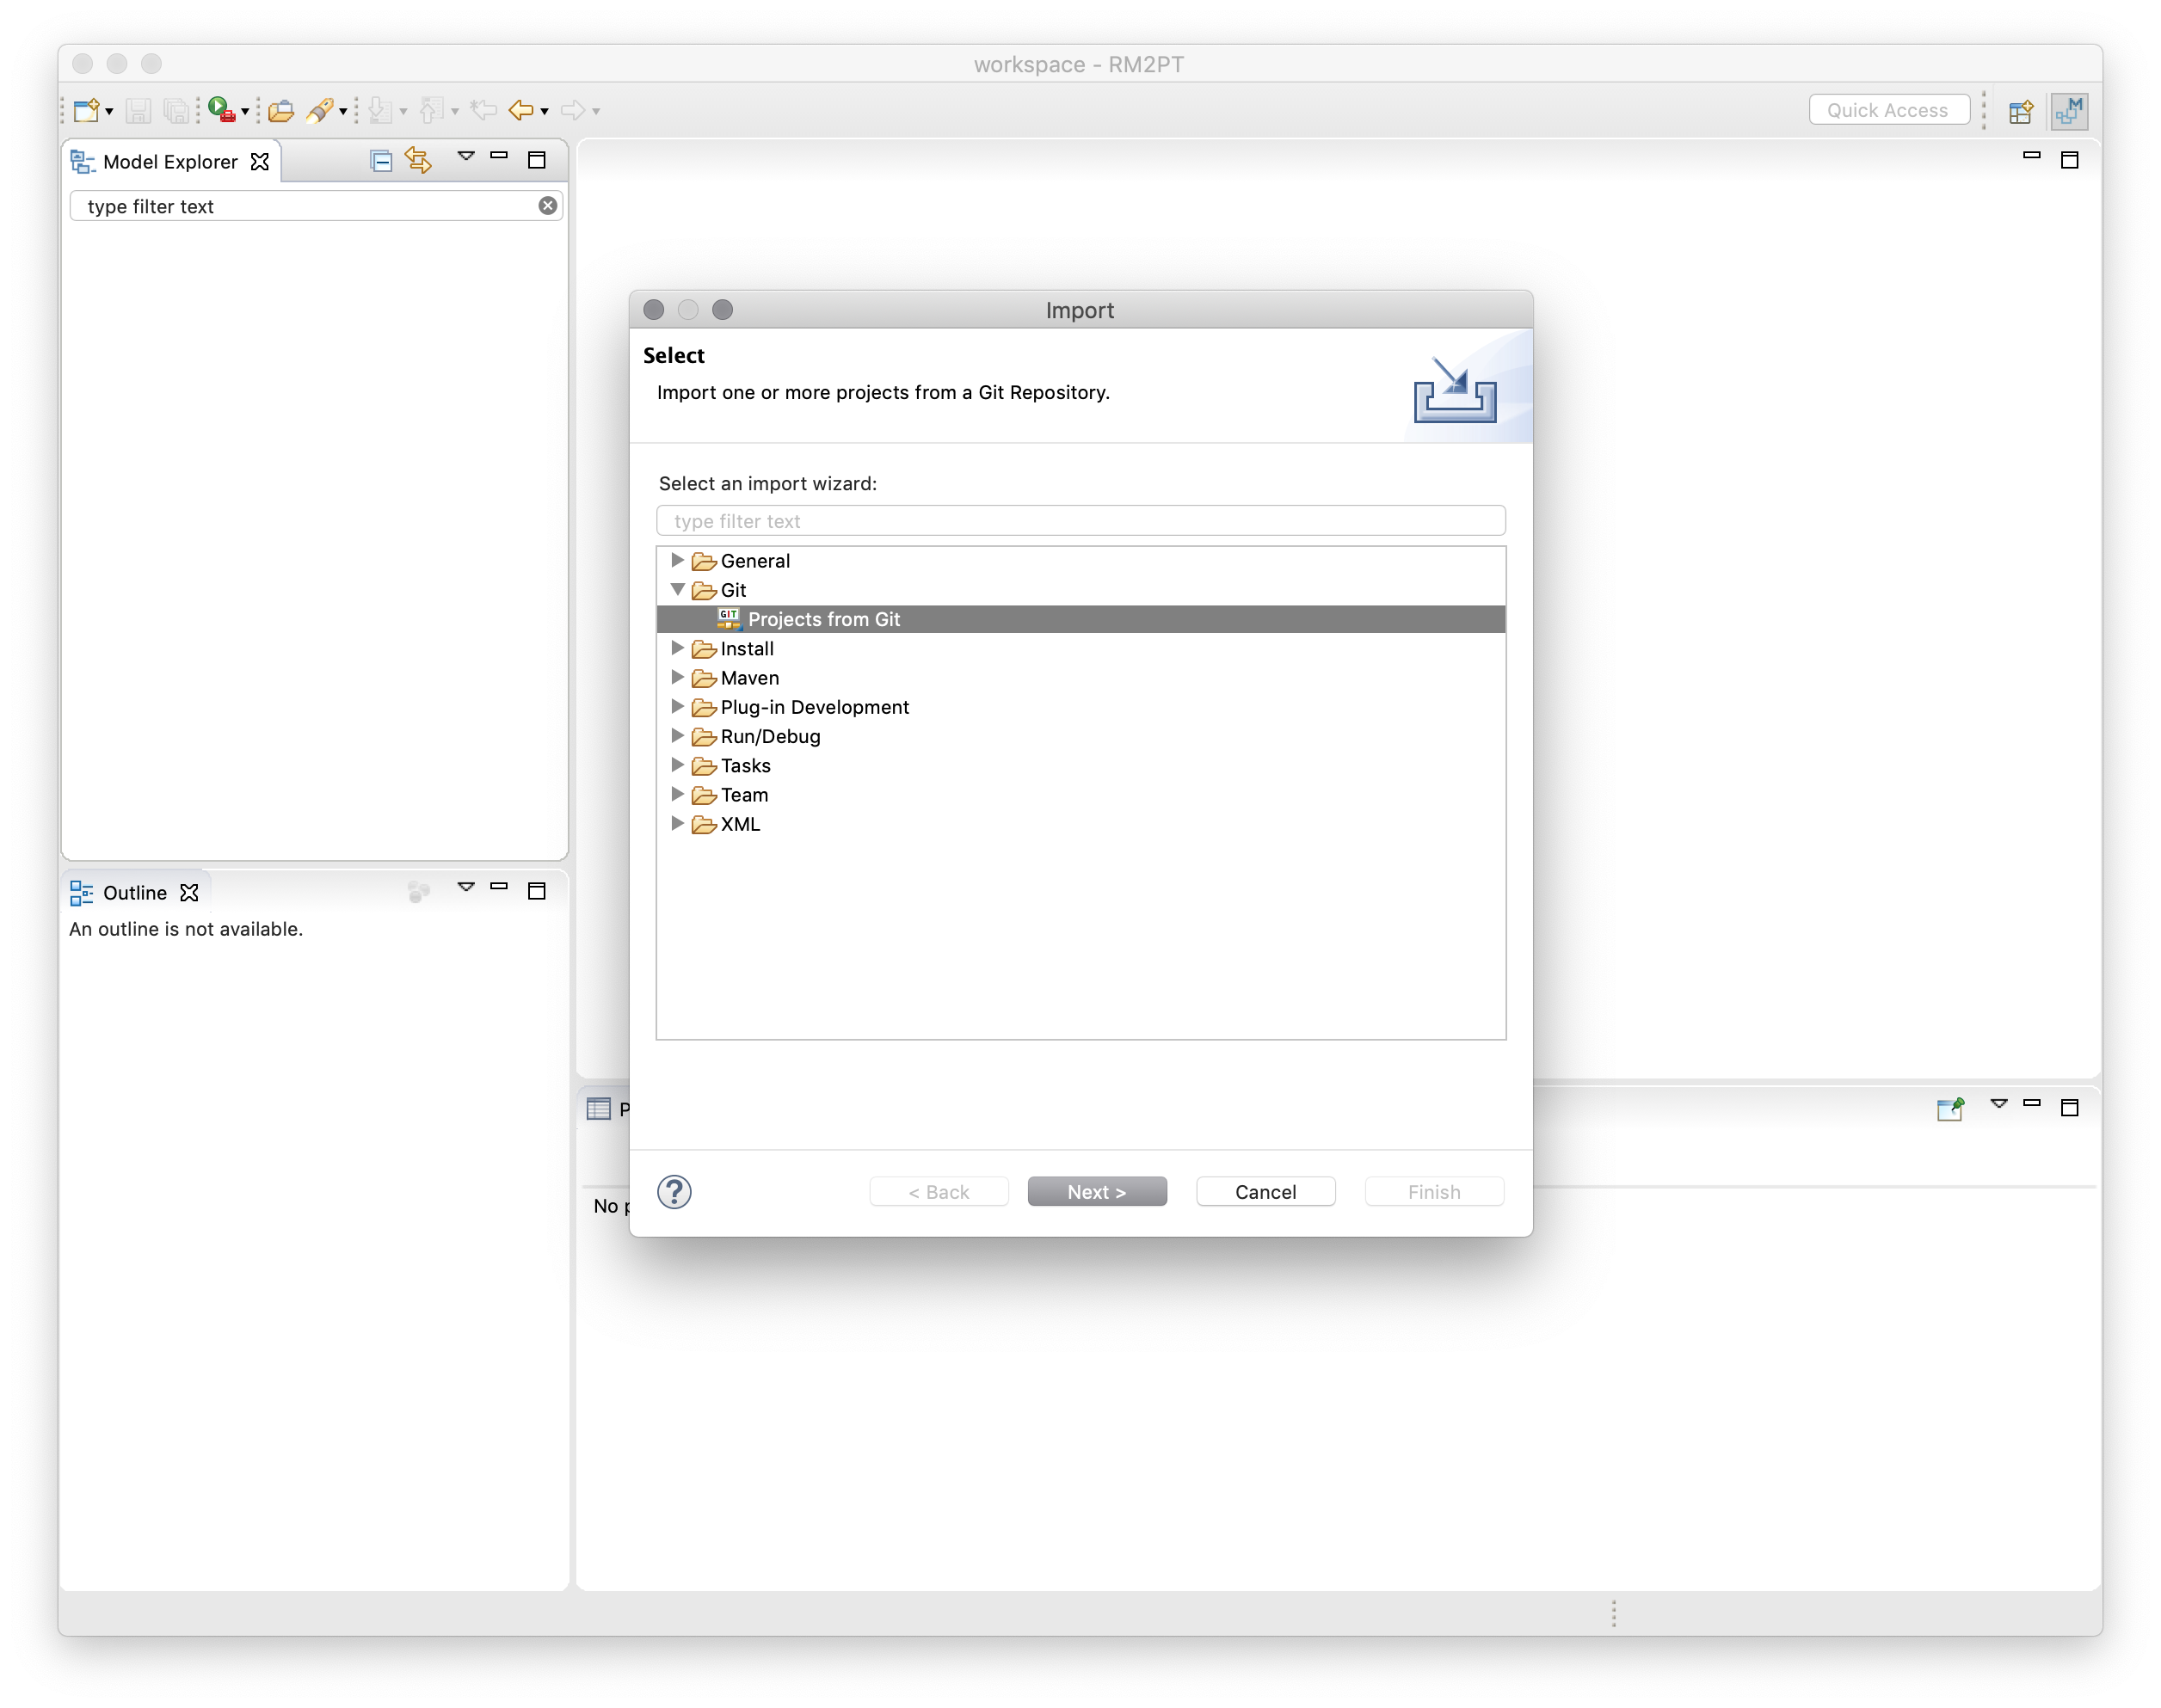
Choose Clone URI
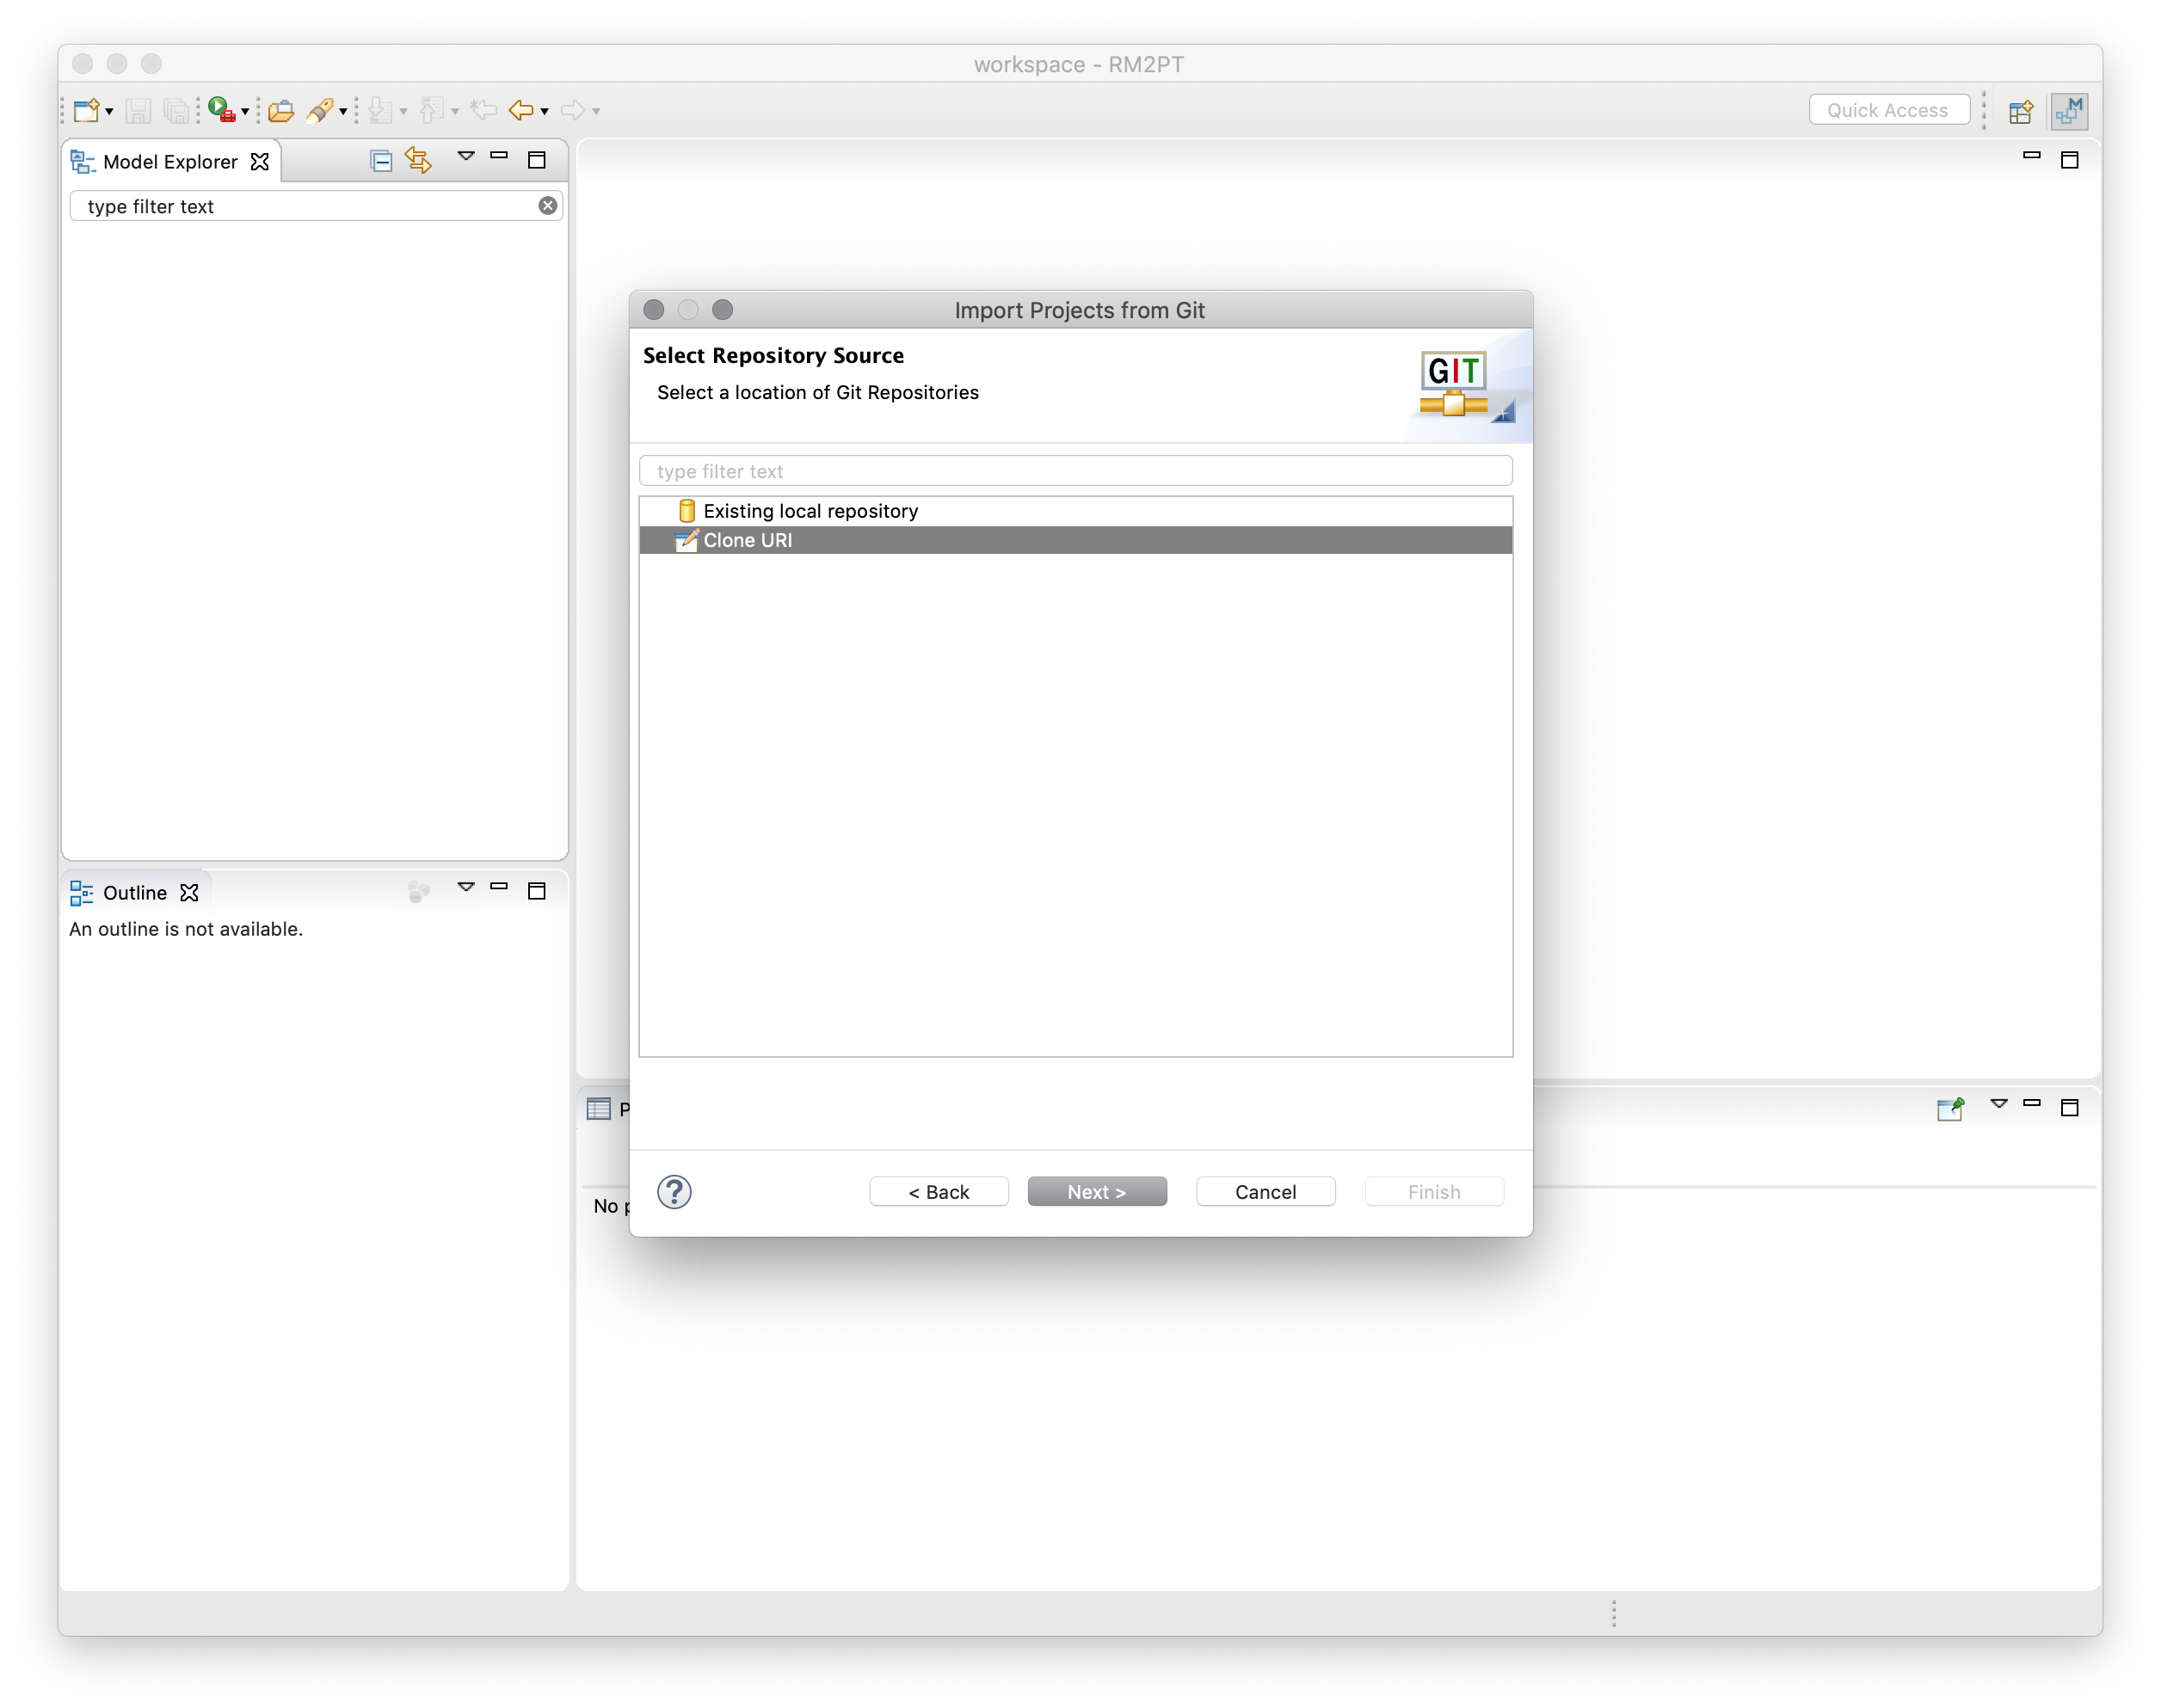
Type Git URL -> Next
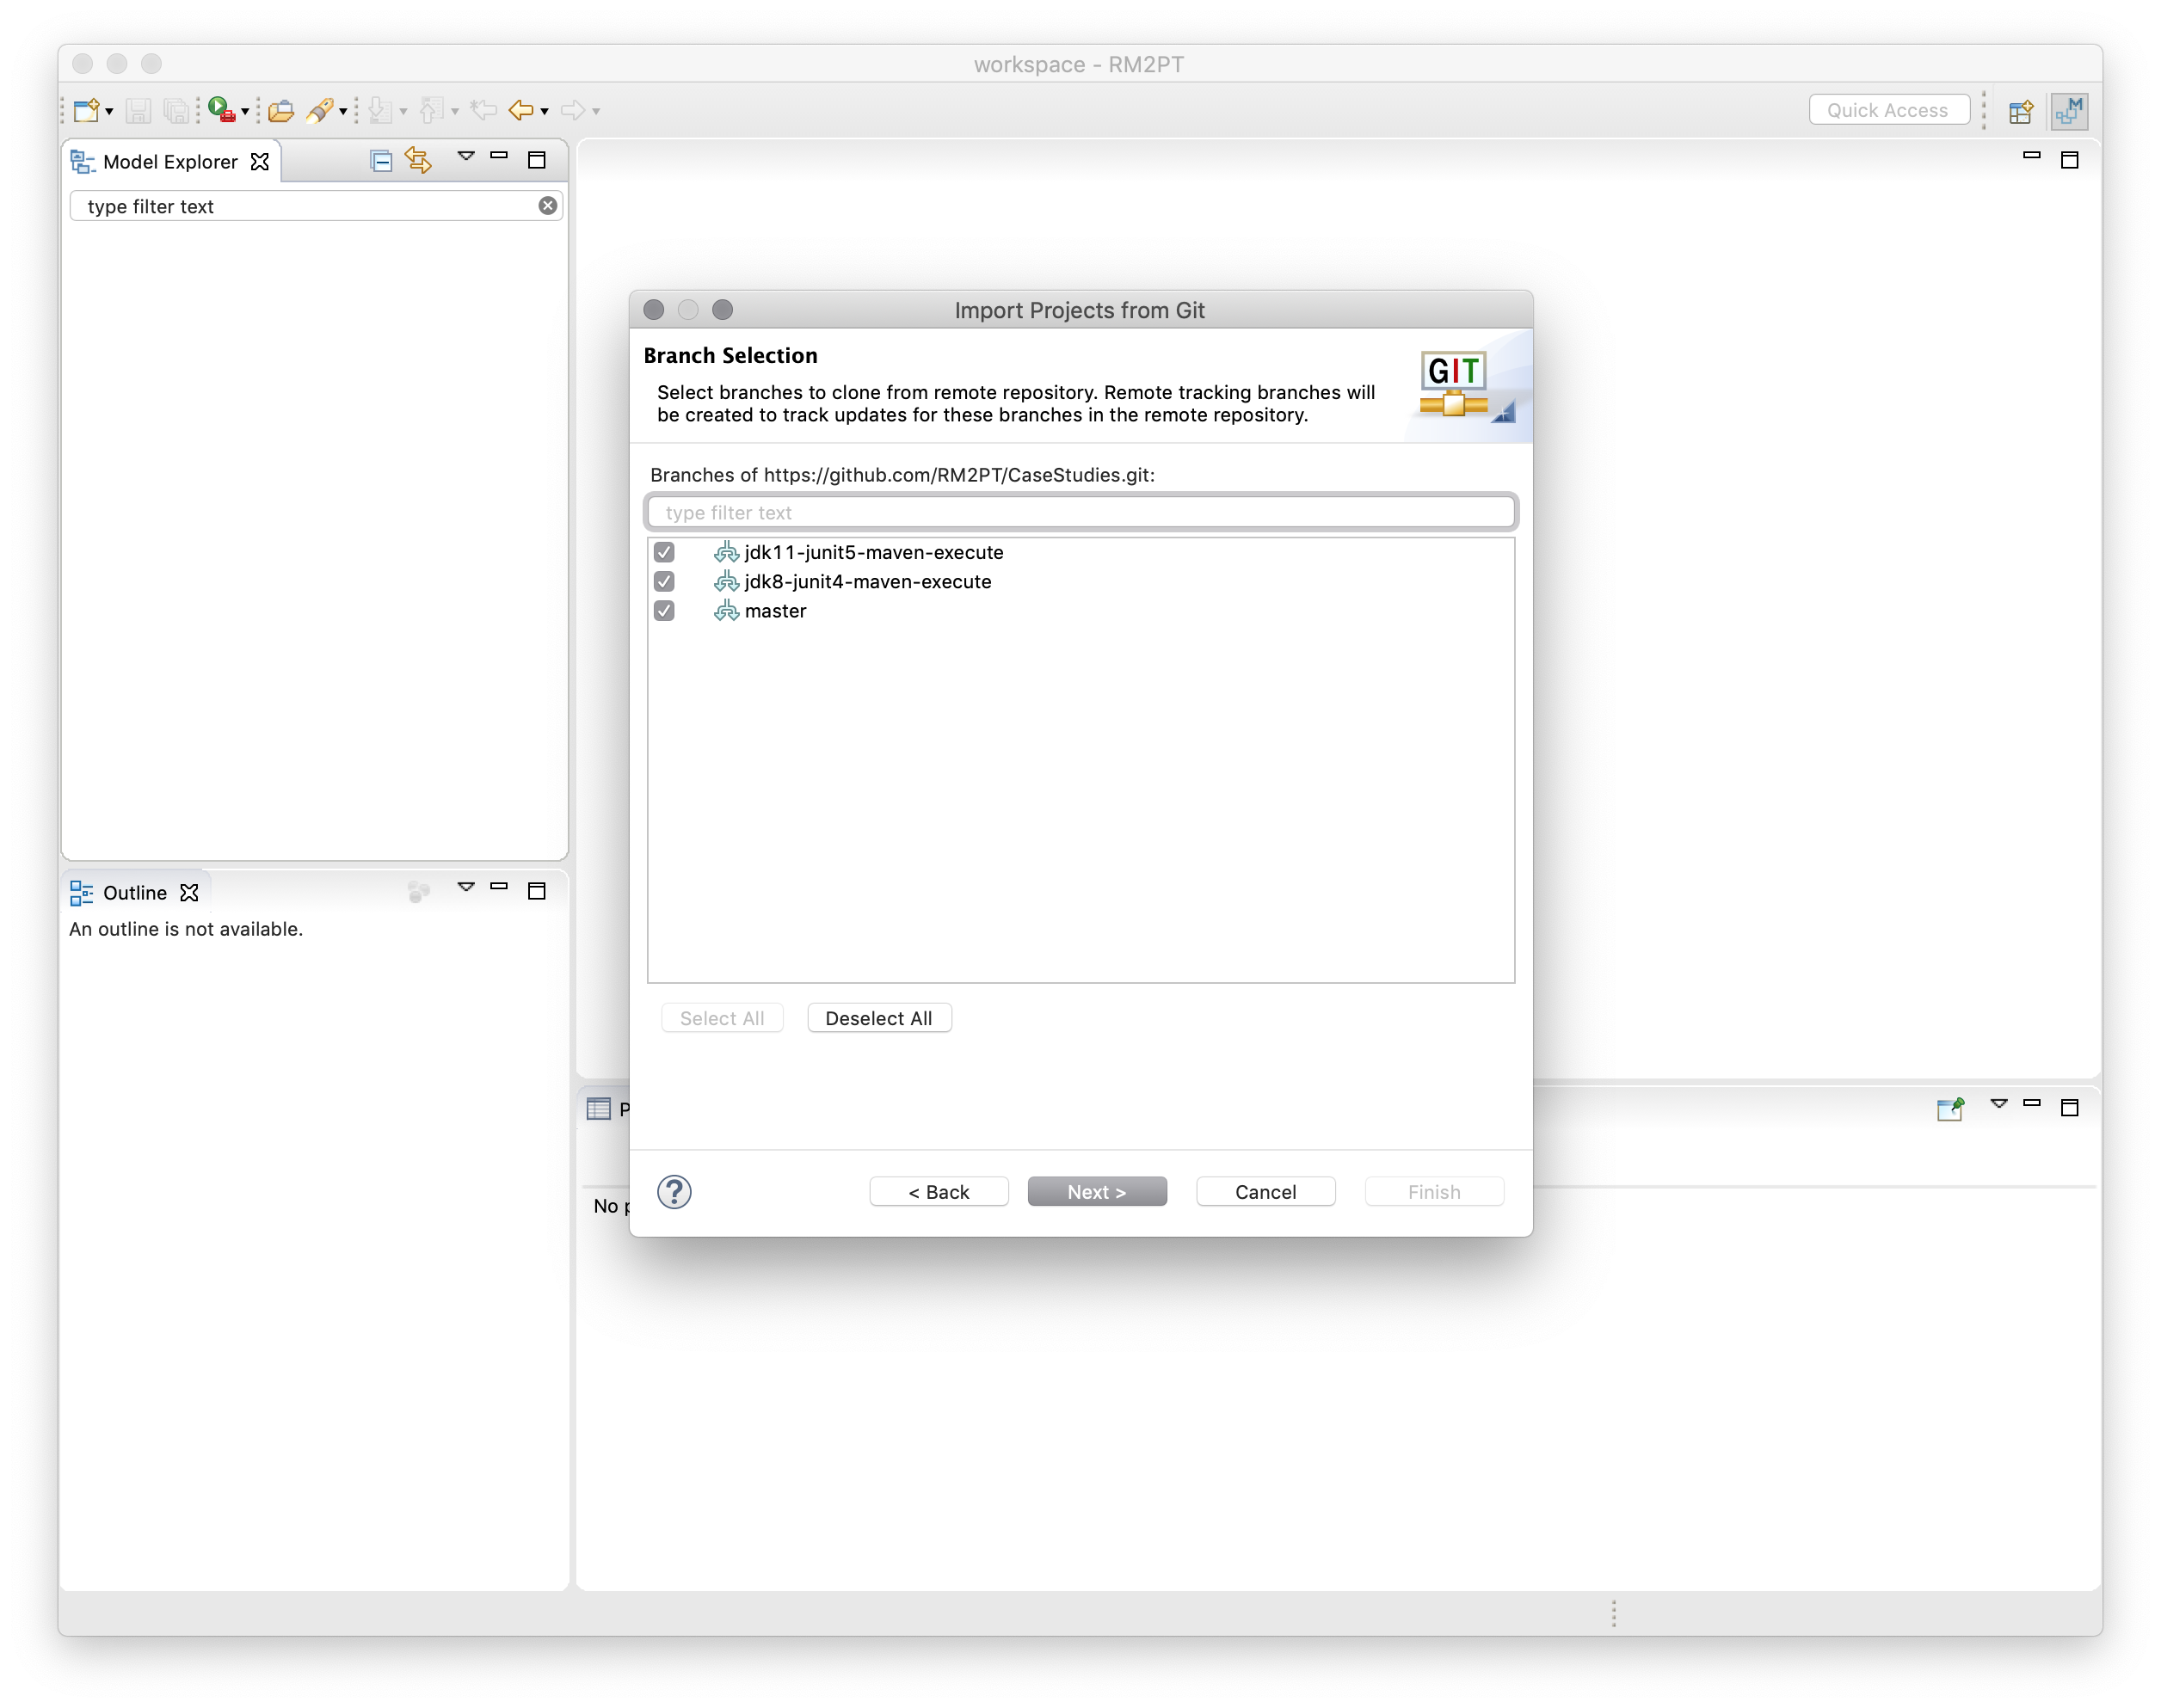
Choose Master
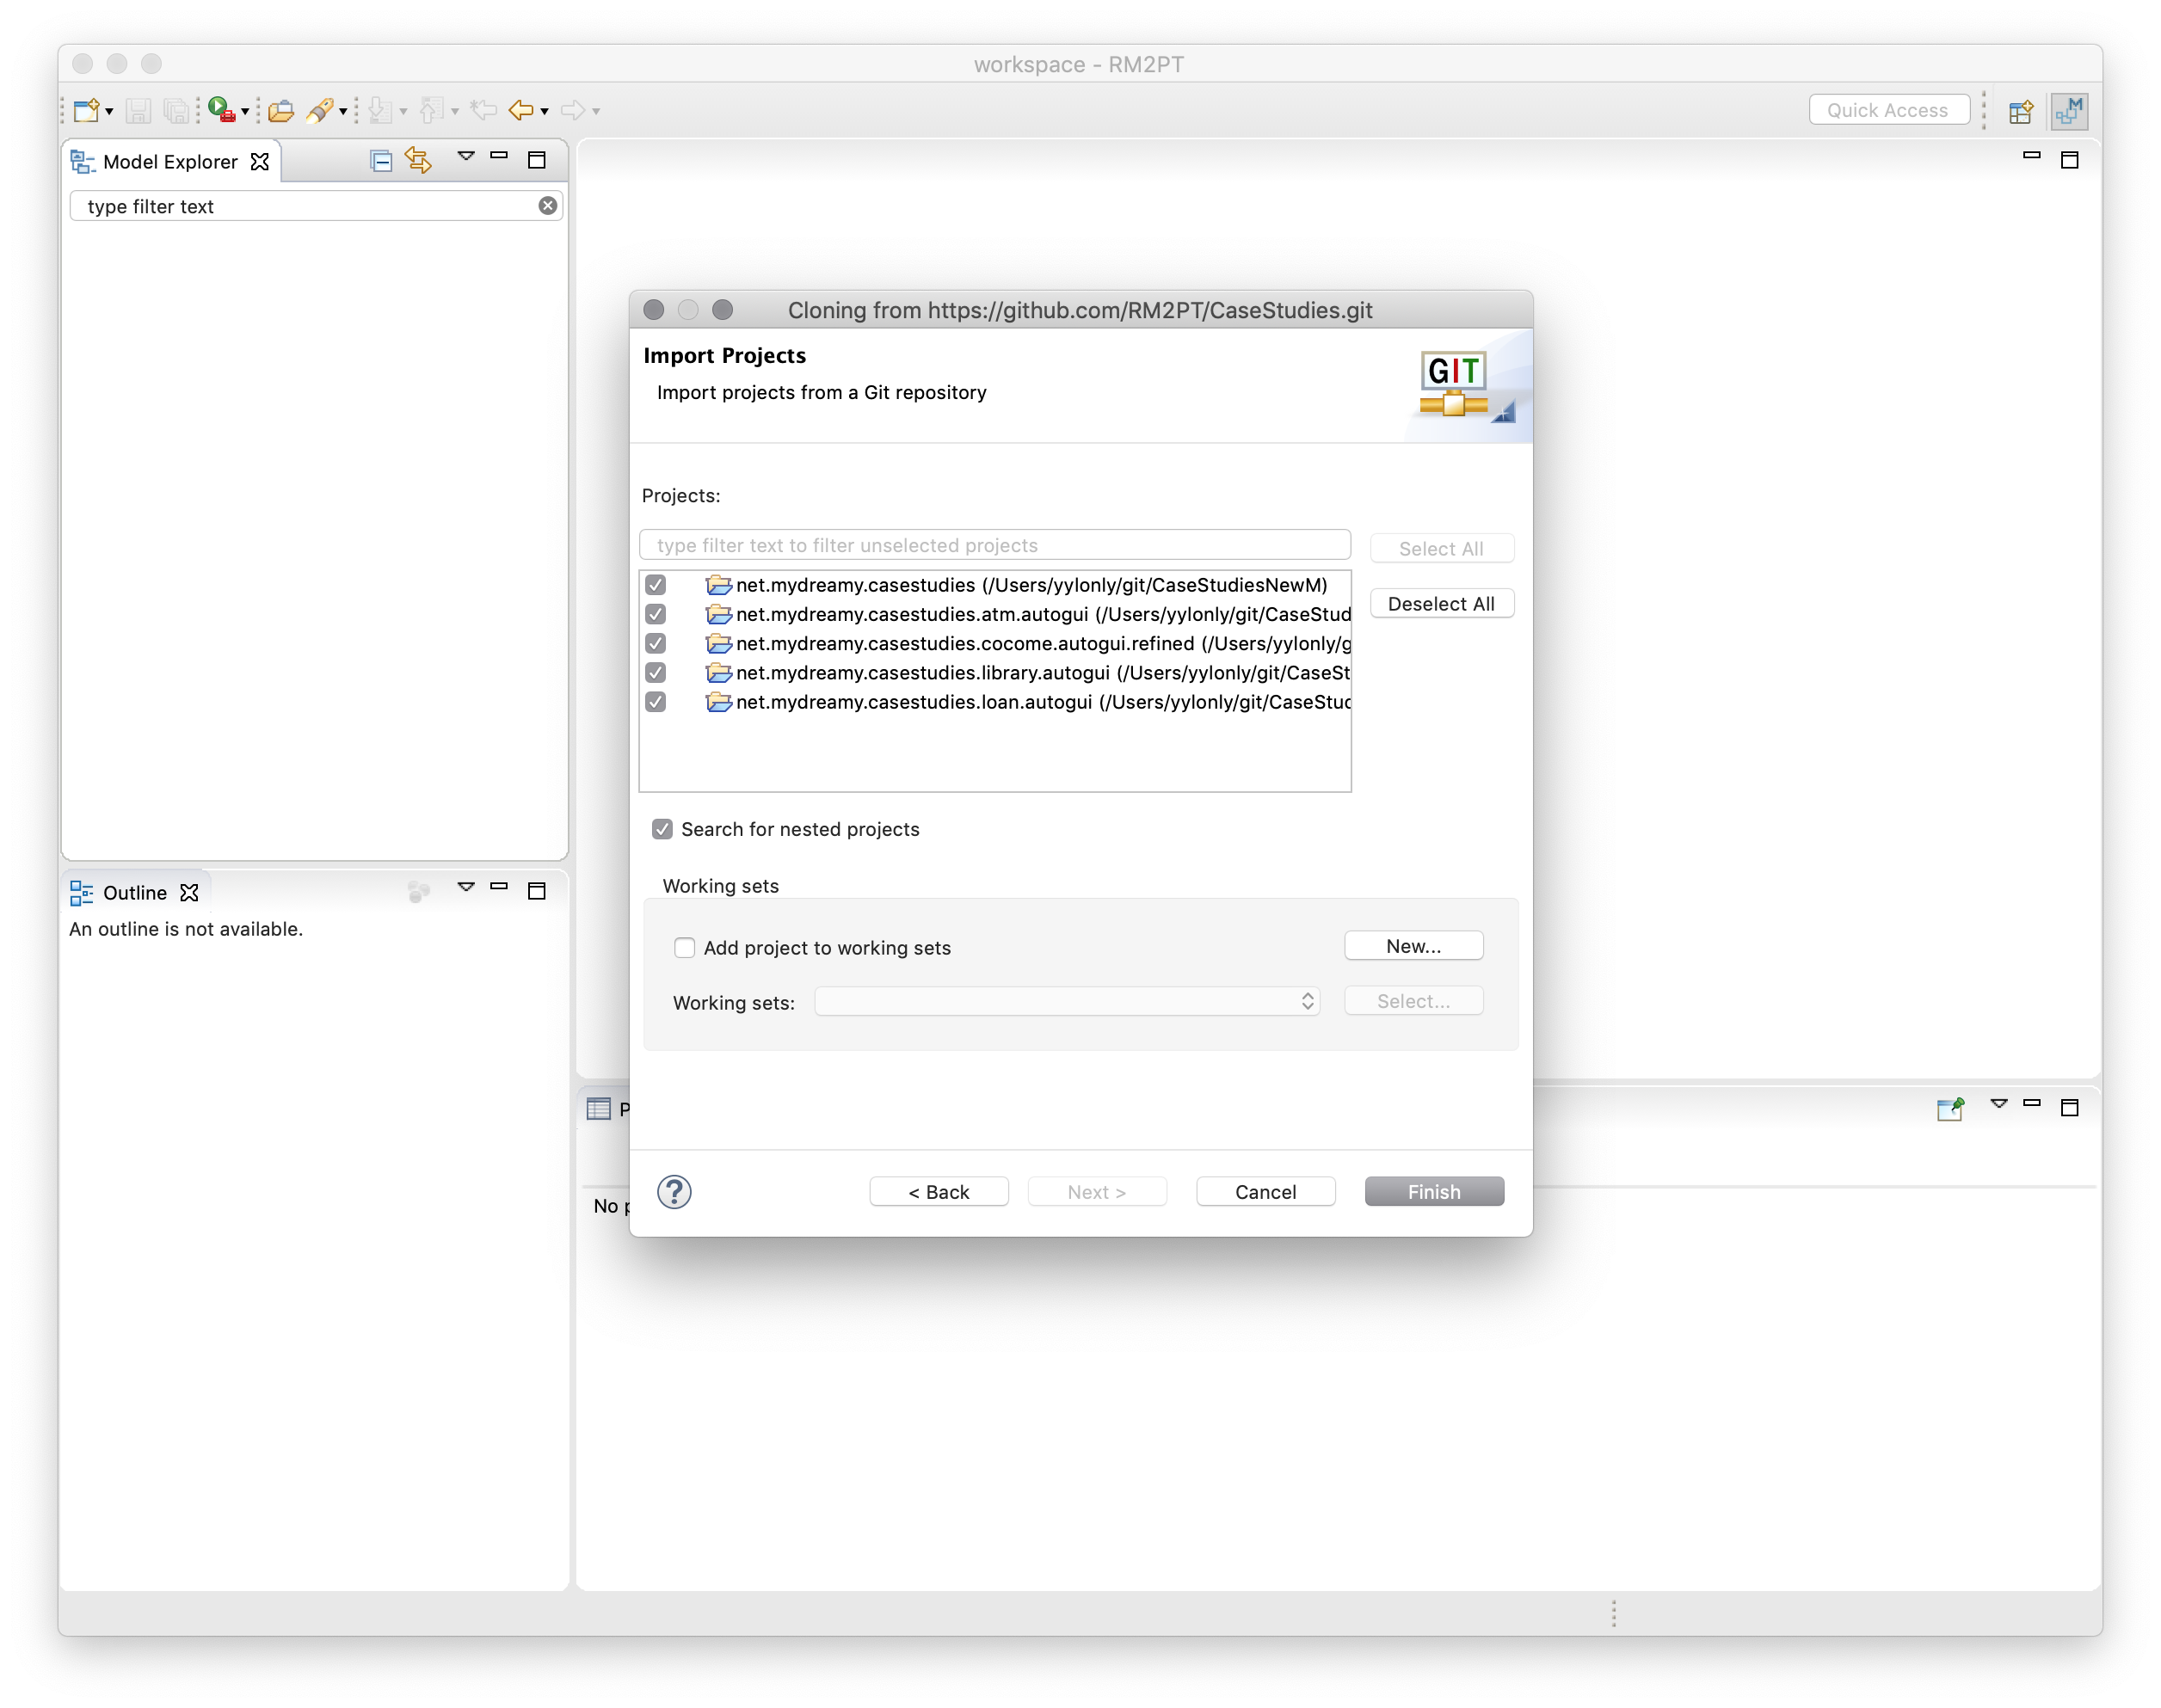
Choose the case studies -> Finish
Import from directory or zip file
RM2PT project can also be imported from local directory or zip file
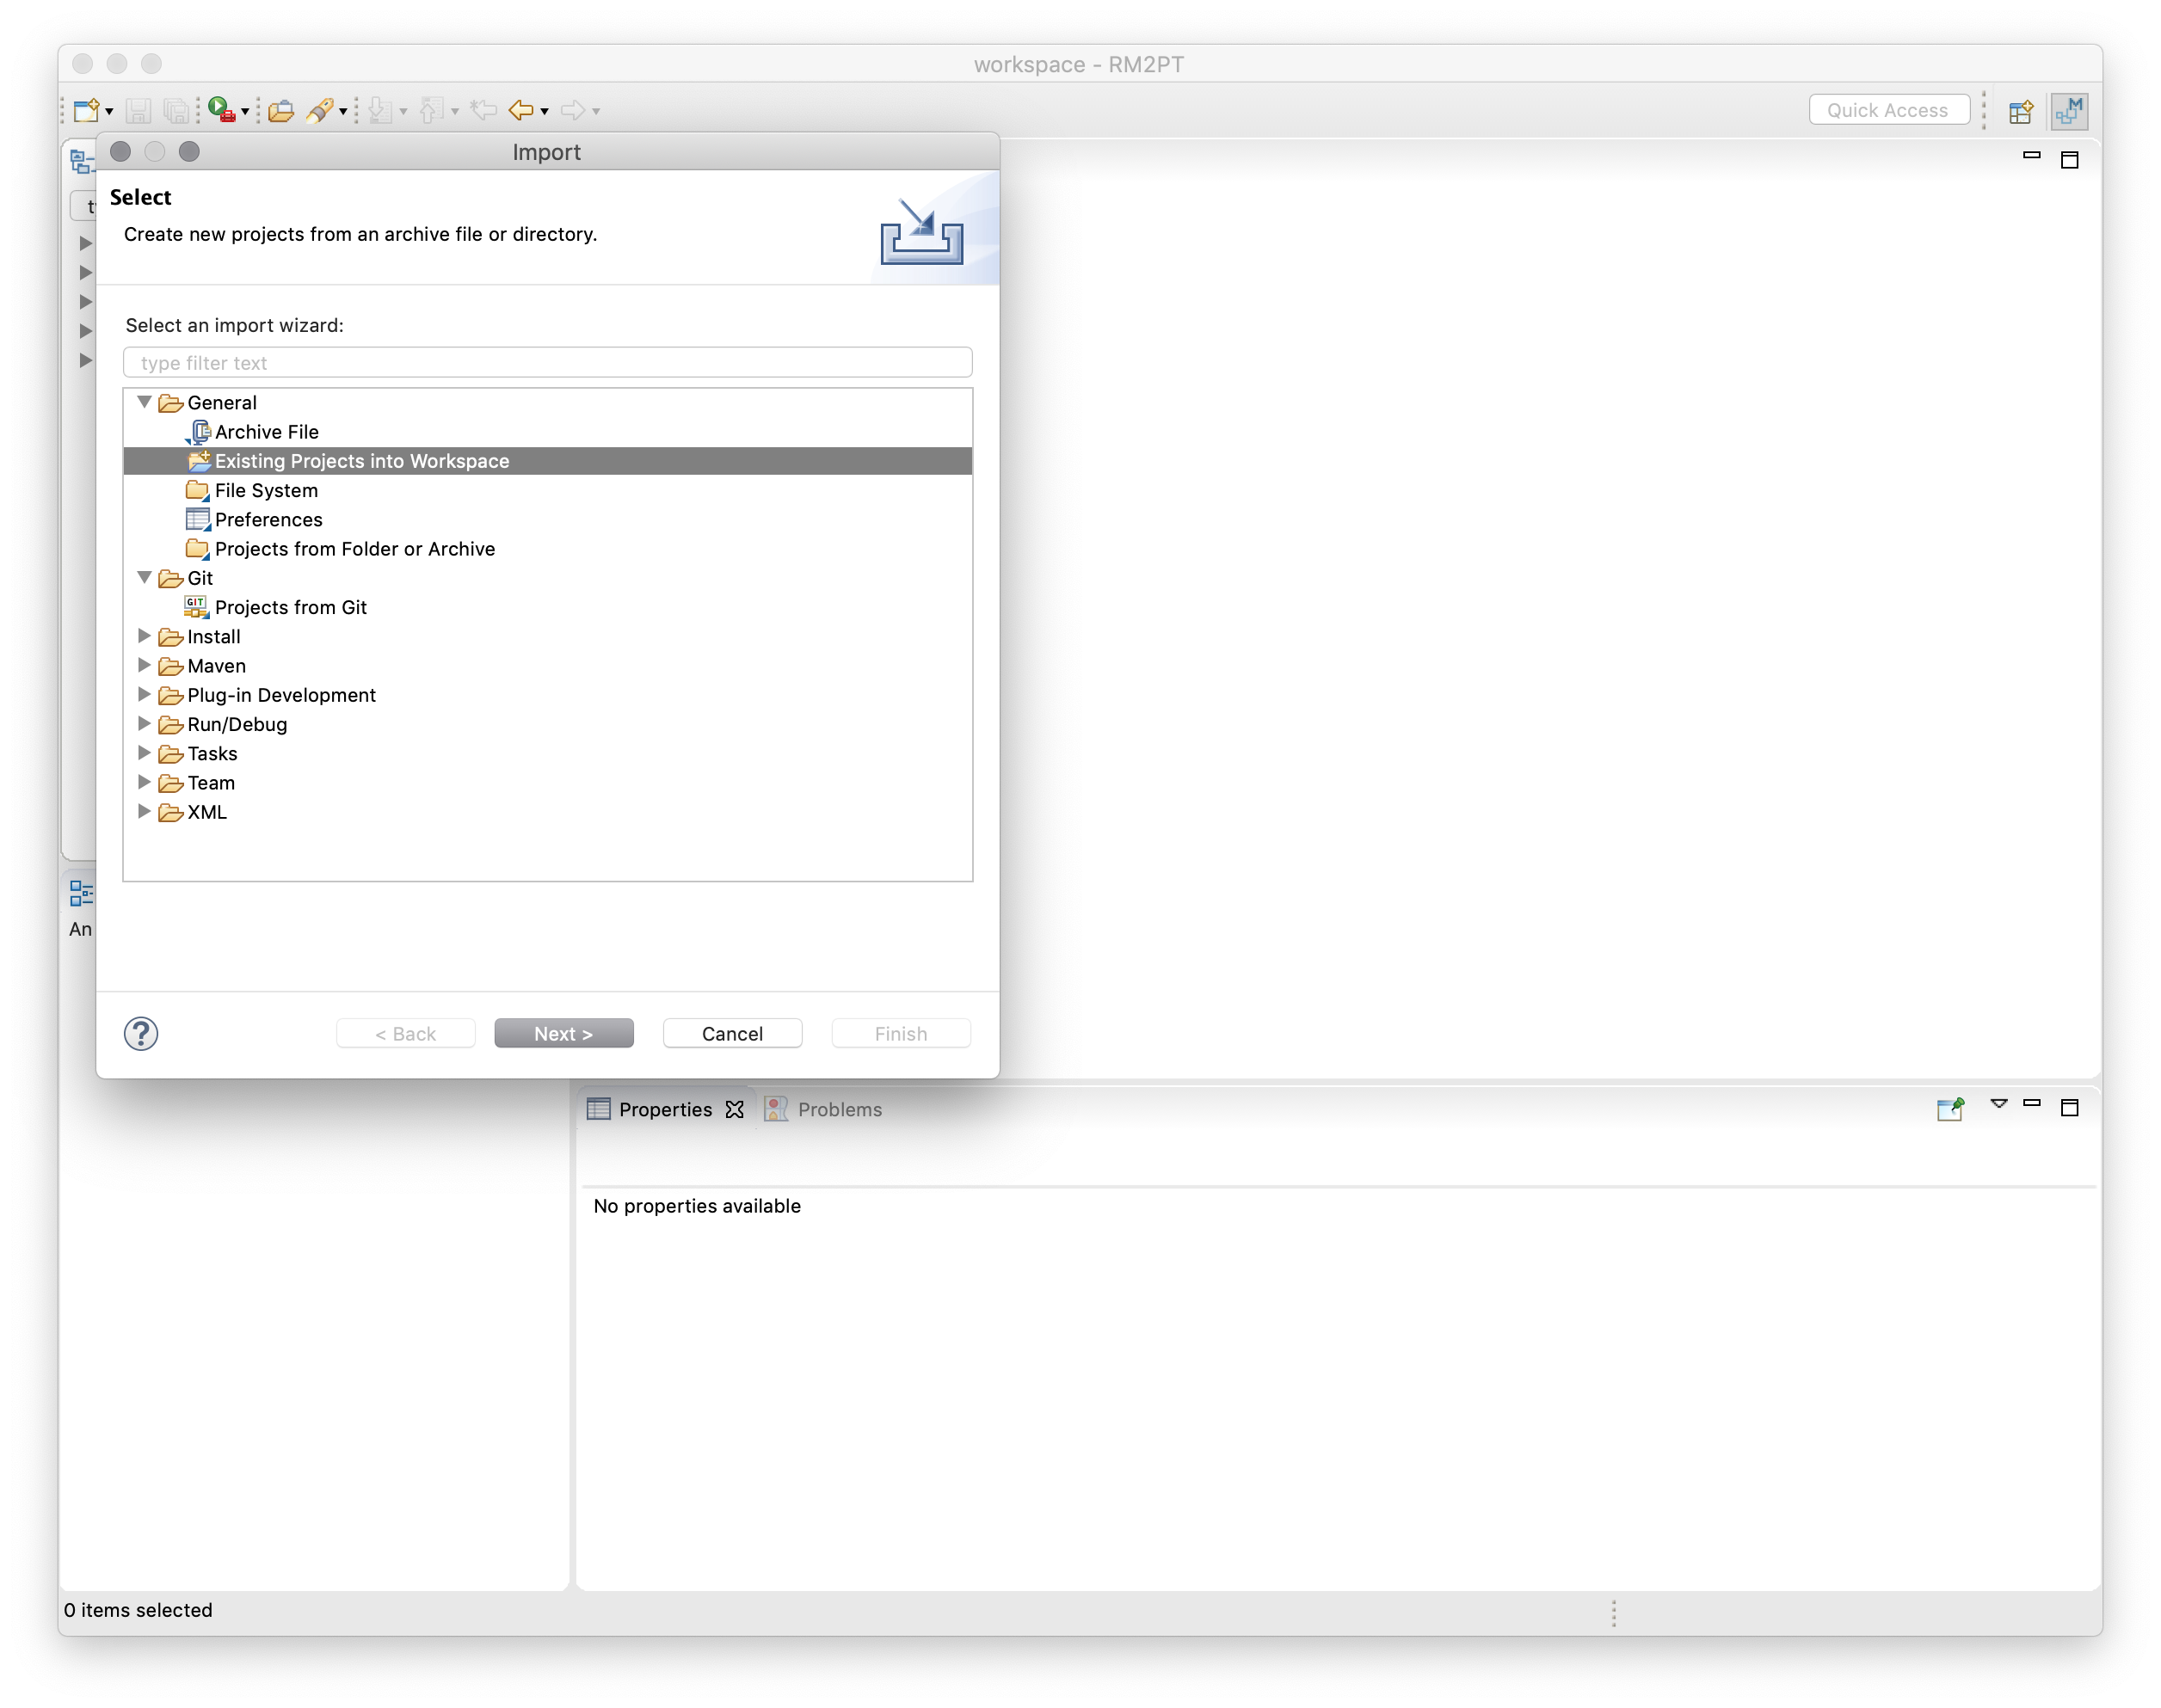
Right click Model Explorer -> Import
Choose Existing Projects into Workspace
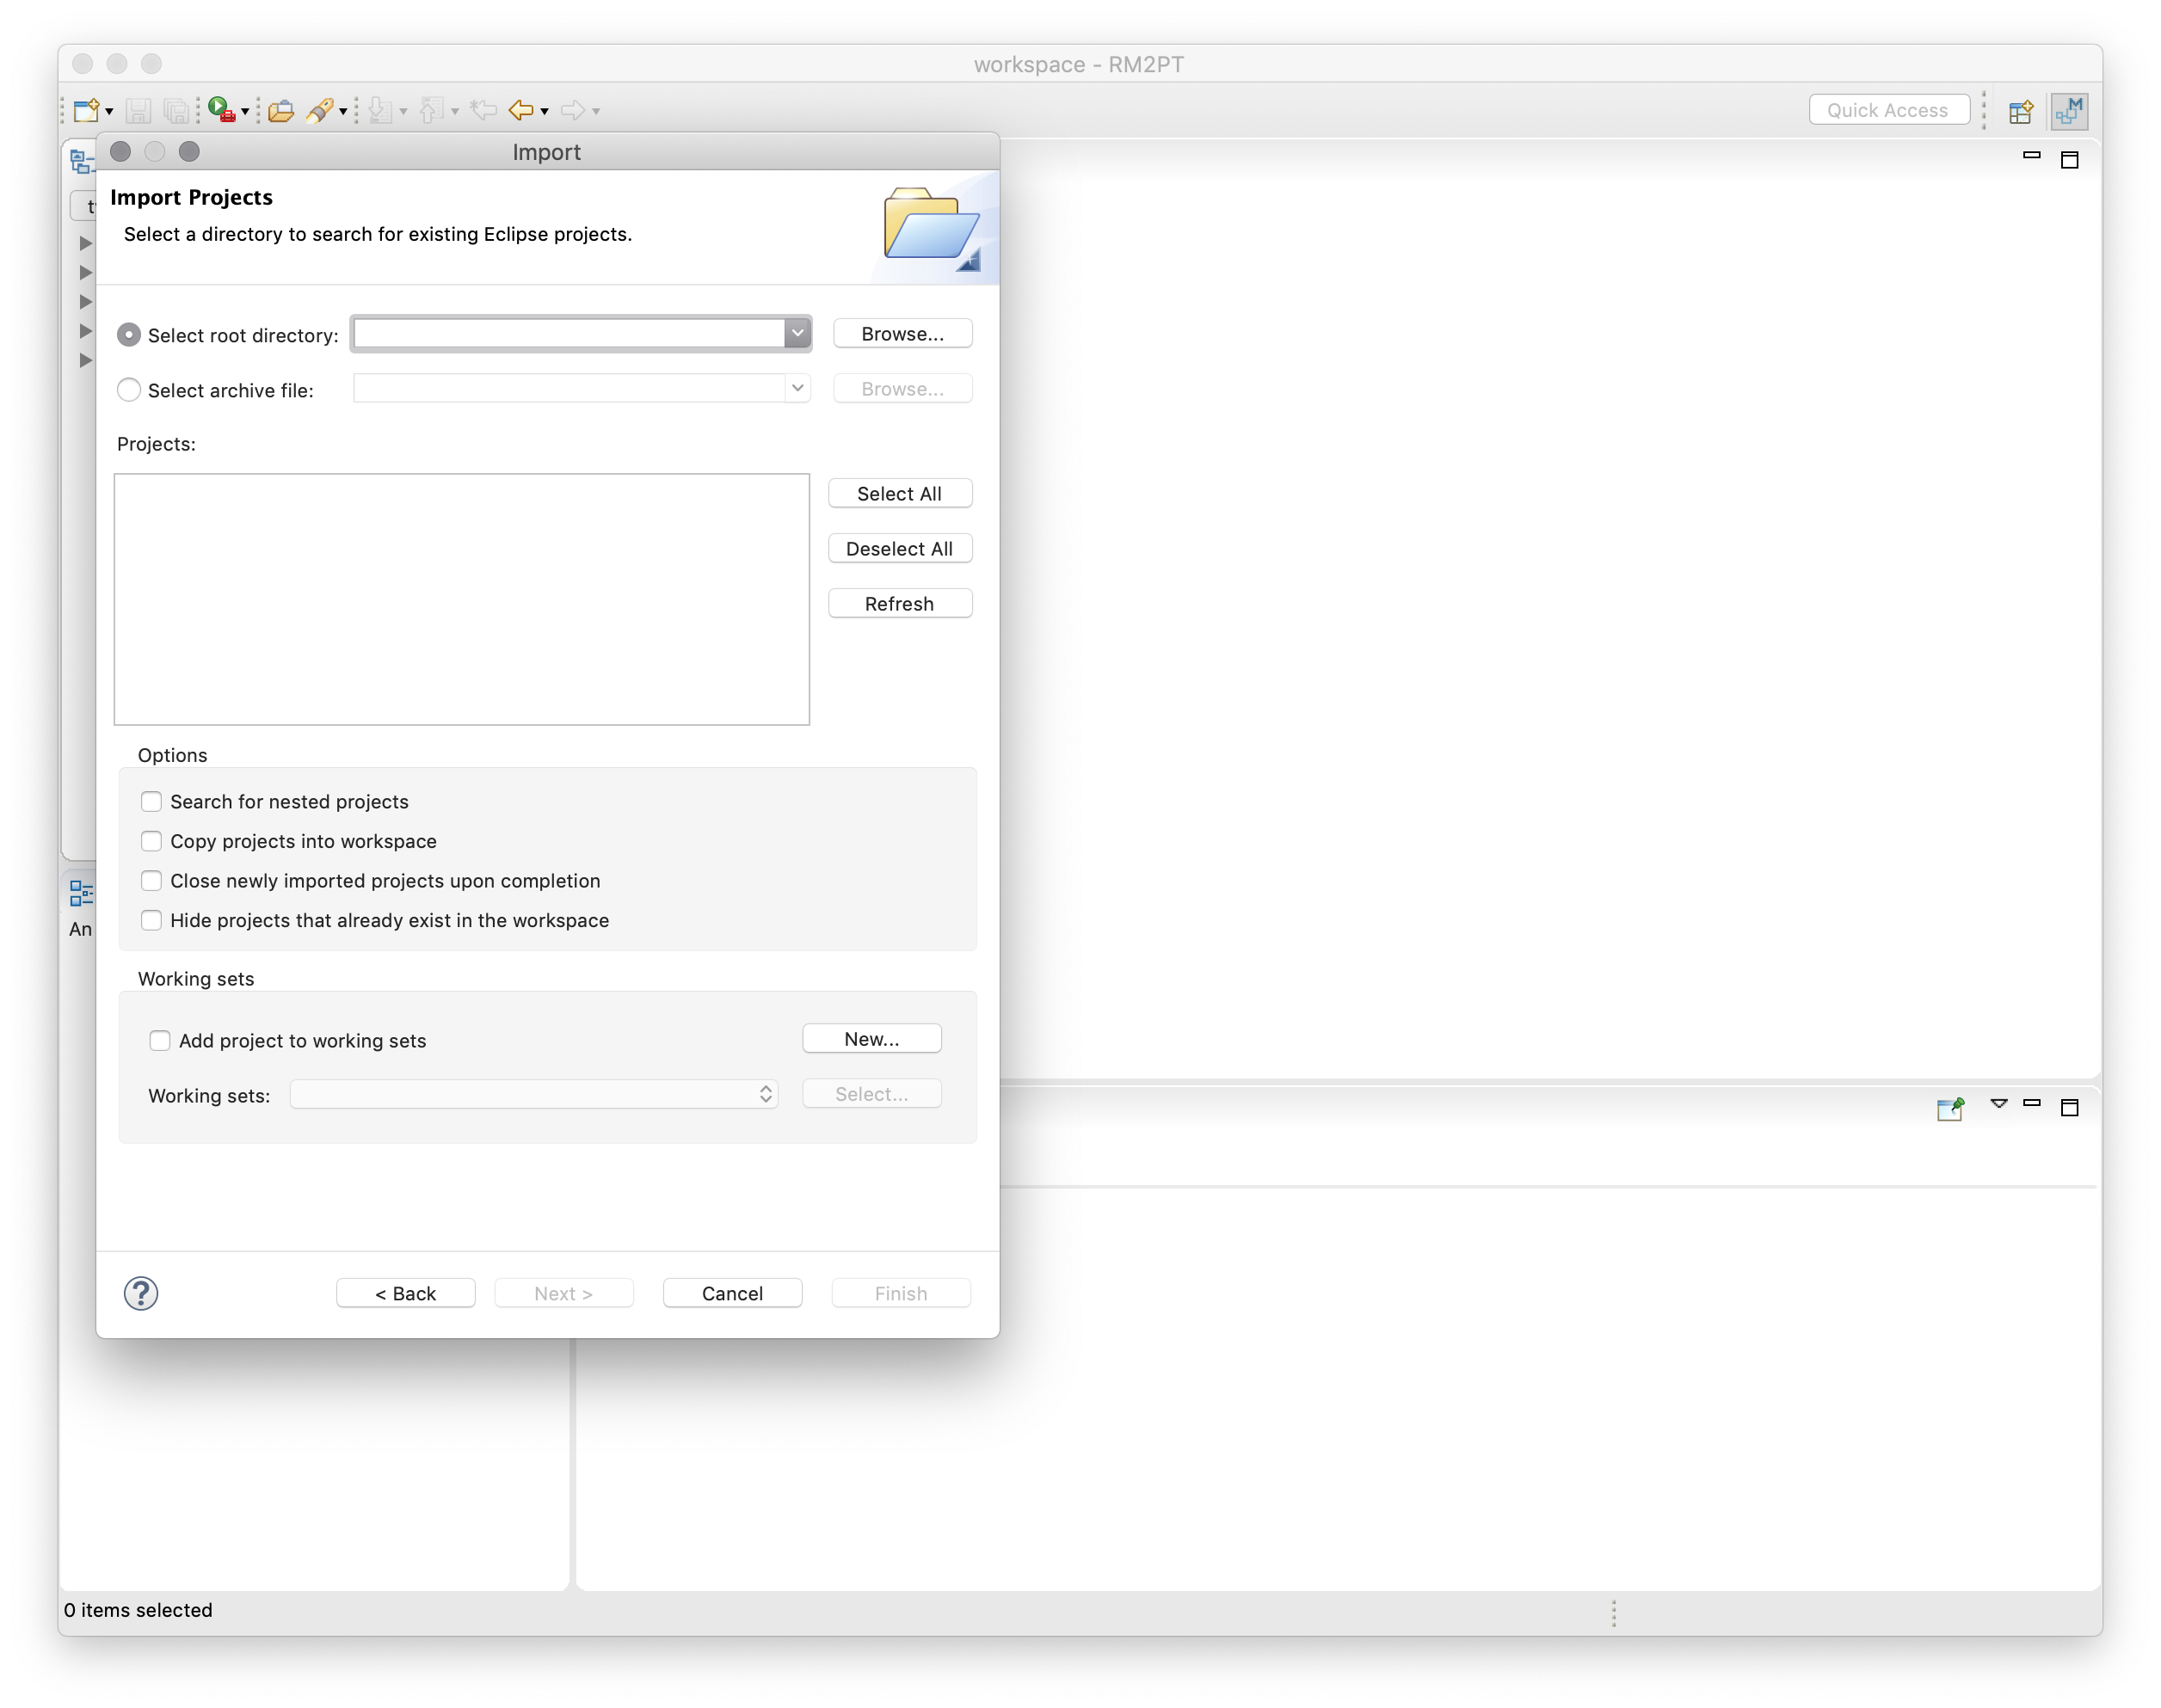
Choose select root directory or Select archieve file
Requirements Modeling
Open to project net.mydreamy.casestudies.atm.autogui, Requirement model is under in directory requirementmodel:
atm.airdis graphic requirements modelatm.remodelis text requirements model
Double click atm.arid to open use case diagram by default, other diagram in atm.arid / Represteantions per category / RequriementModel
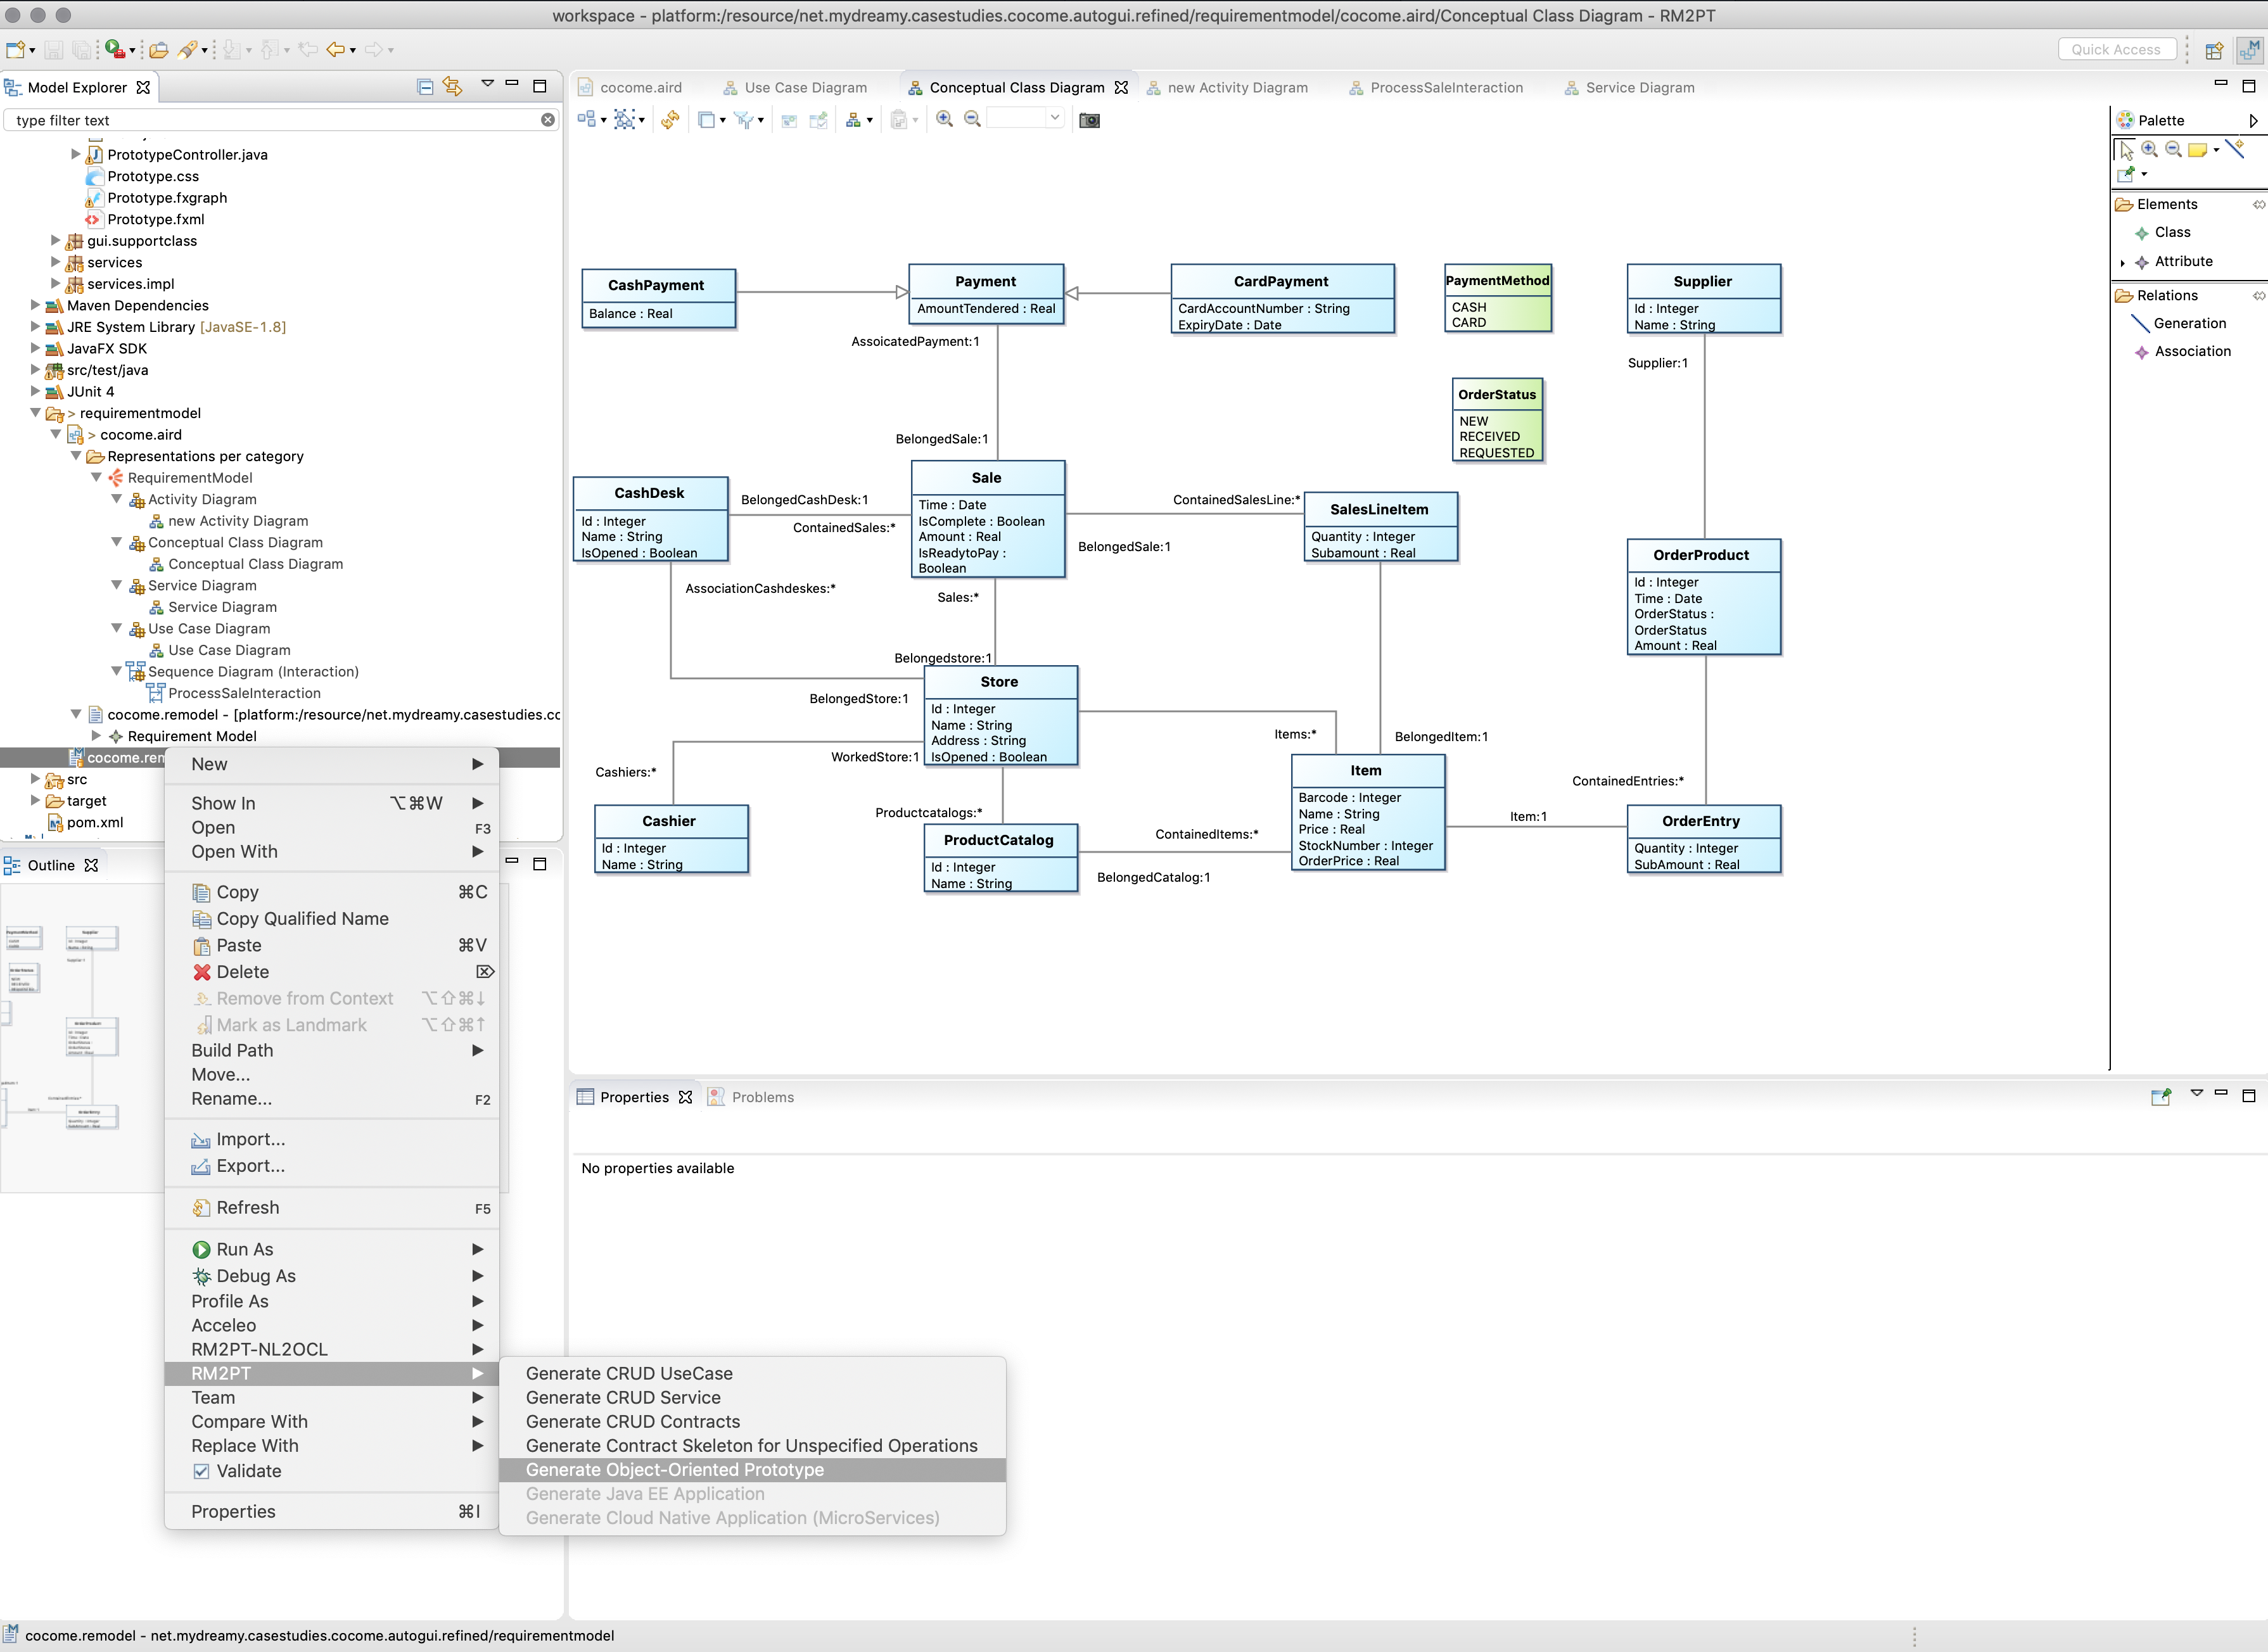
Prototype Generation
Right click on cocome.remodel, use RM2PT -> Generate Object-oriend Prototype, the code of prototpye will generated under the folder of src-gen.
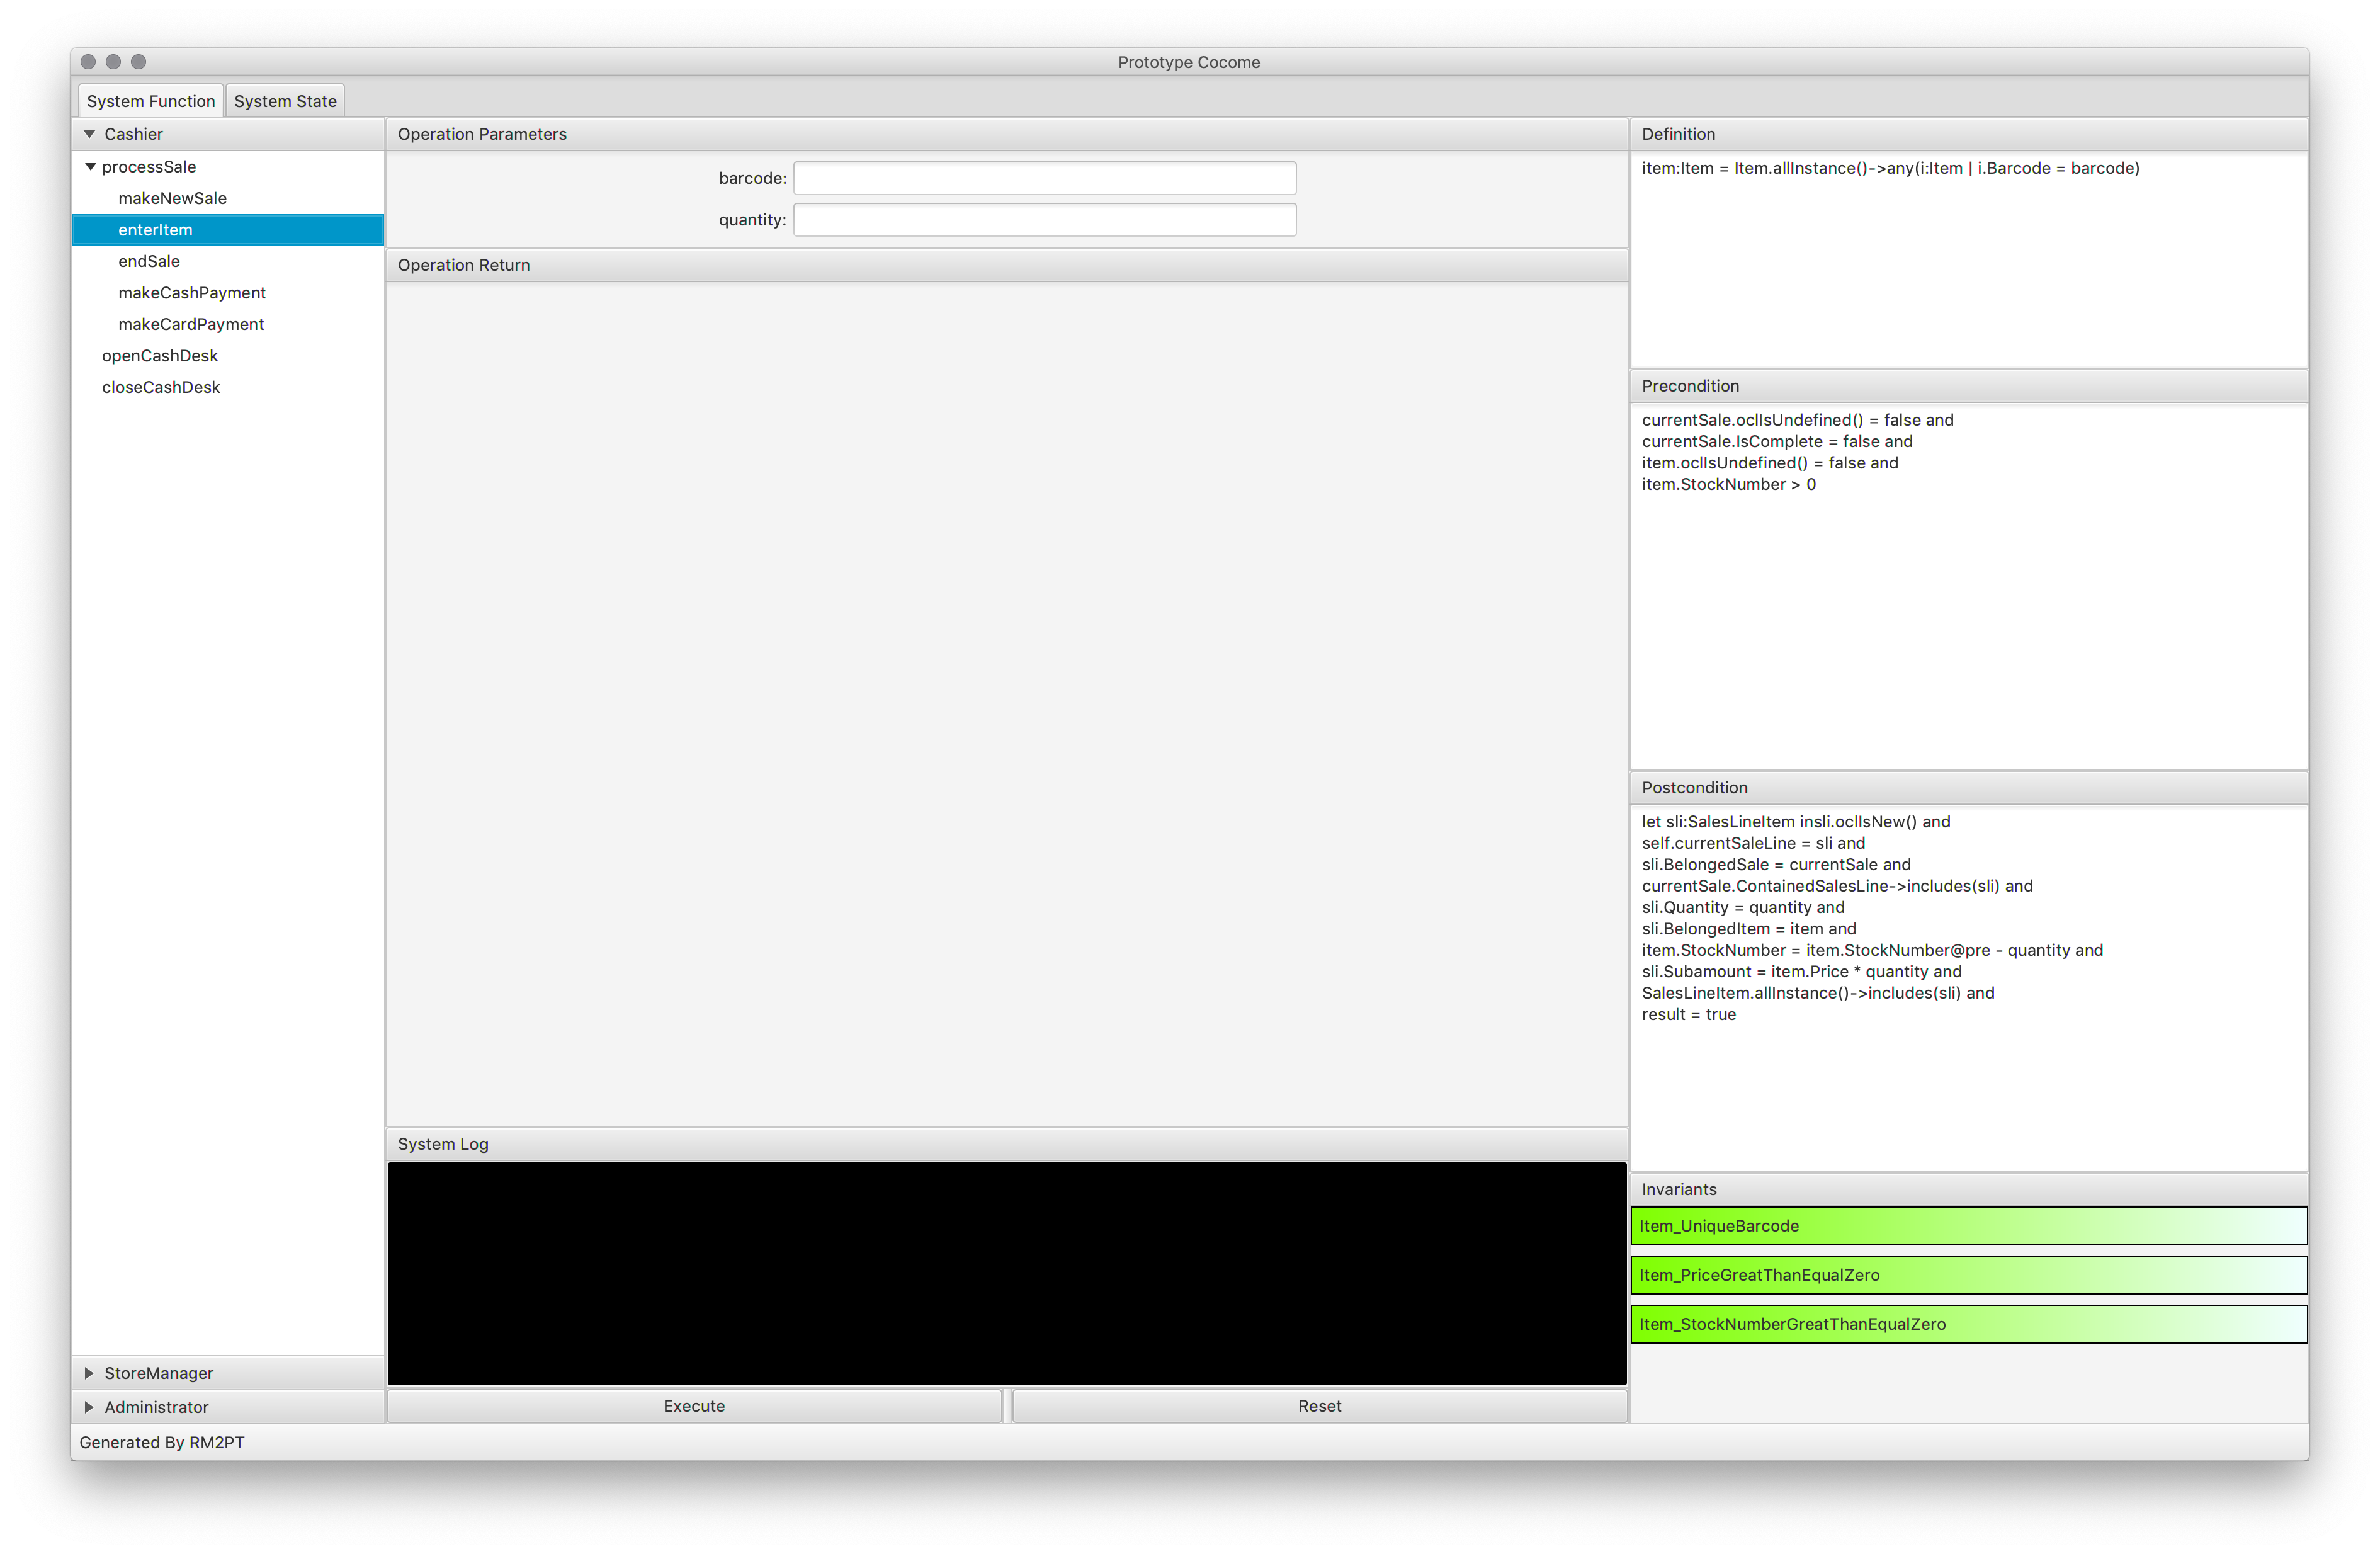
Requirements Validation
- Run prototype by
src-gen -> gui -> Main.java, then you can use the generated prototype to validate the requirements (Note thatMain.javarequiresPrototype.fxmlfile, it will be automatically generated fromPrototype.fxgraph).
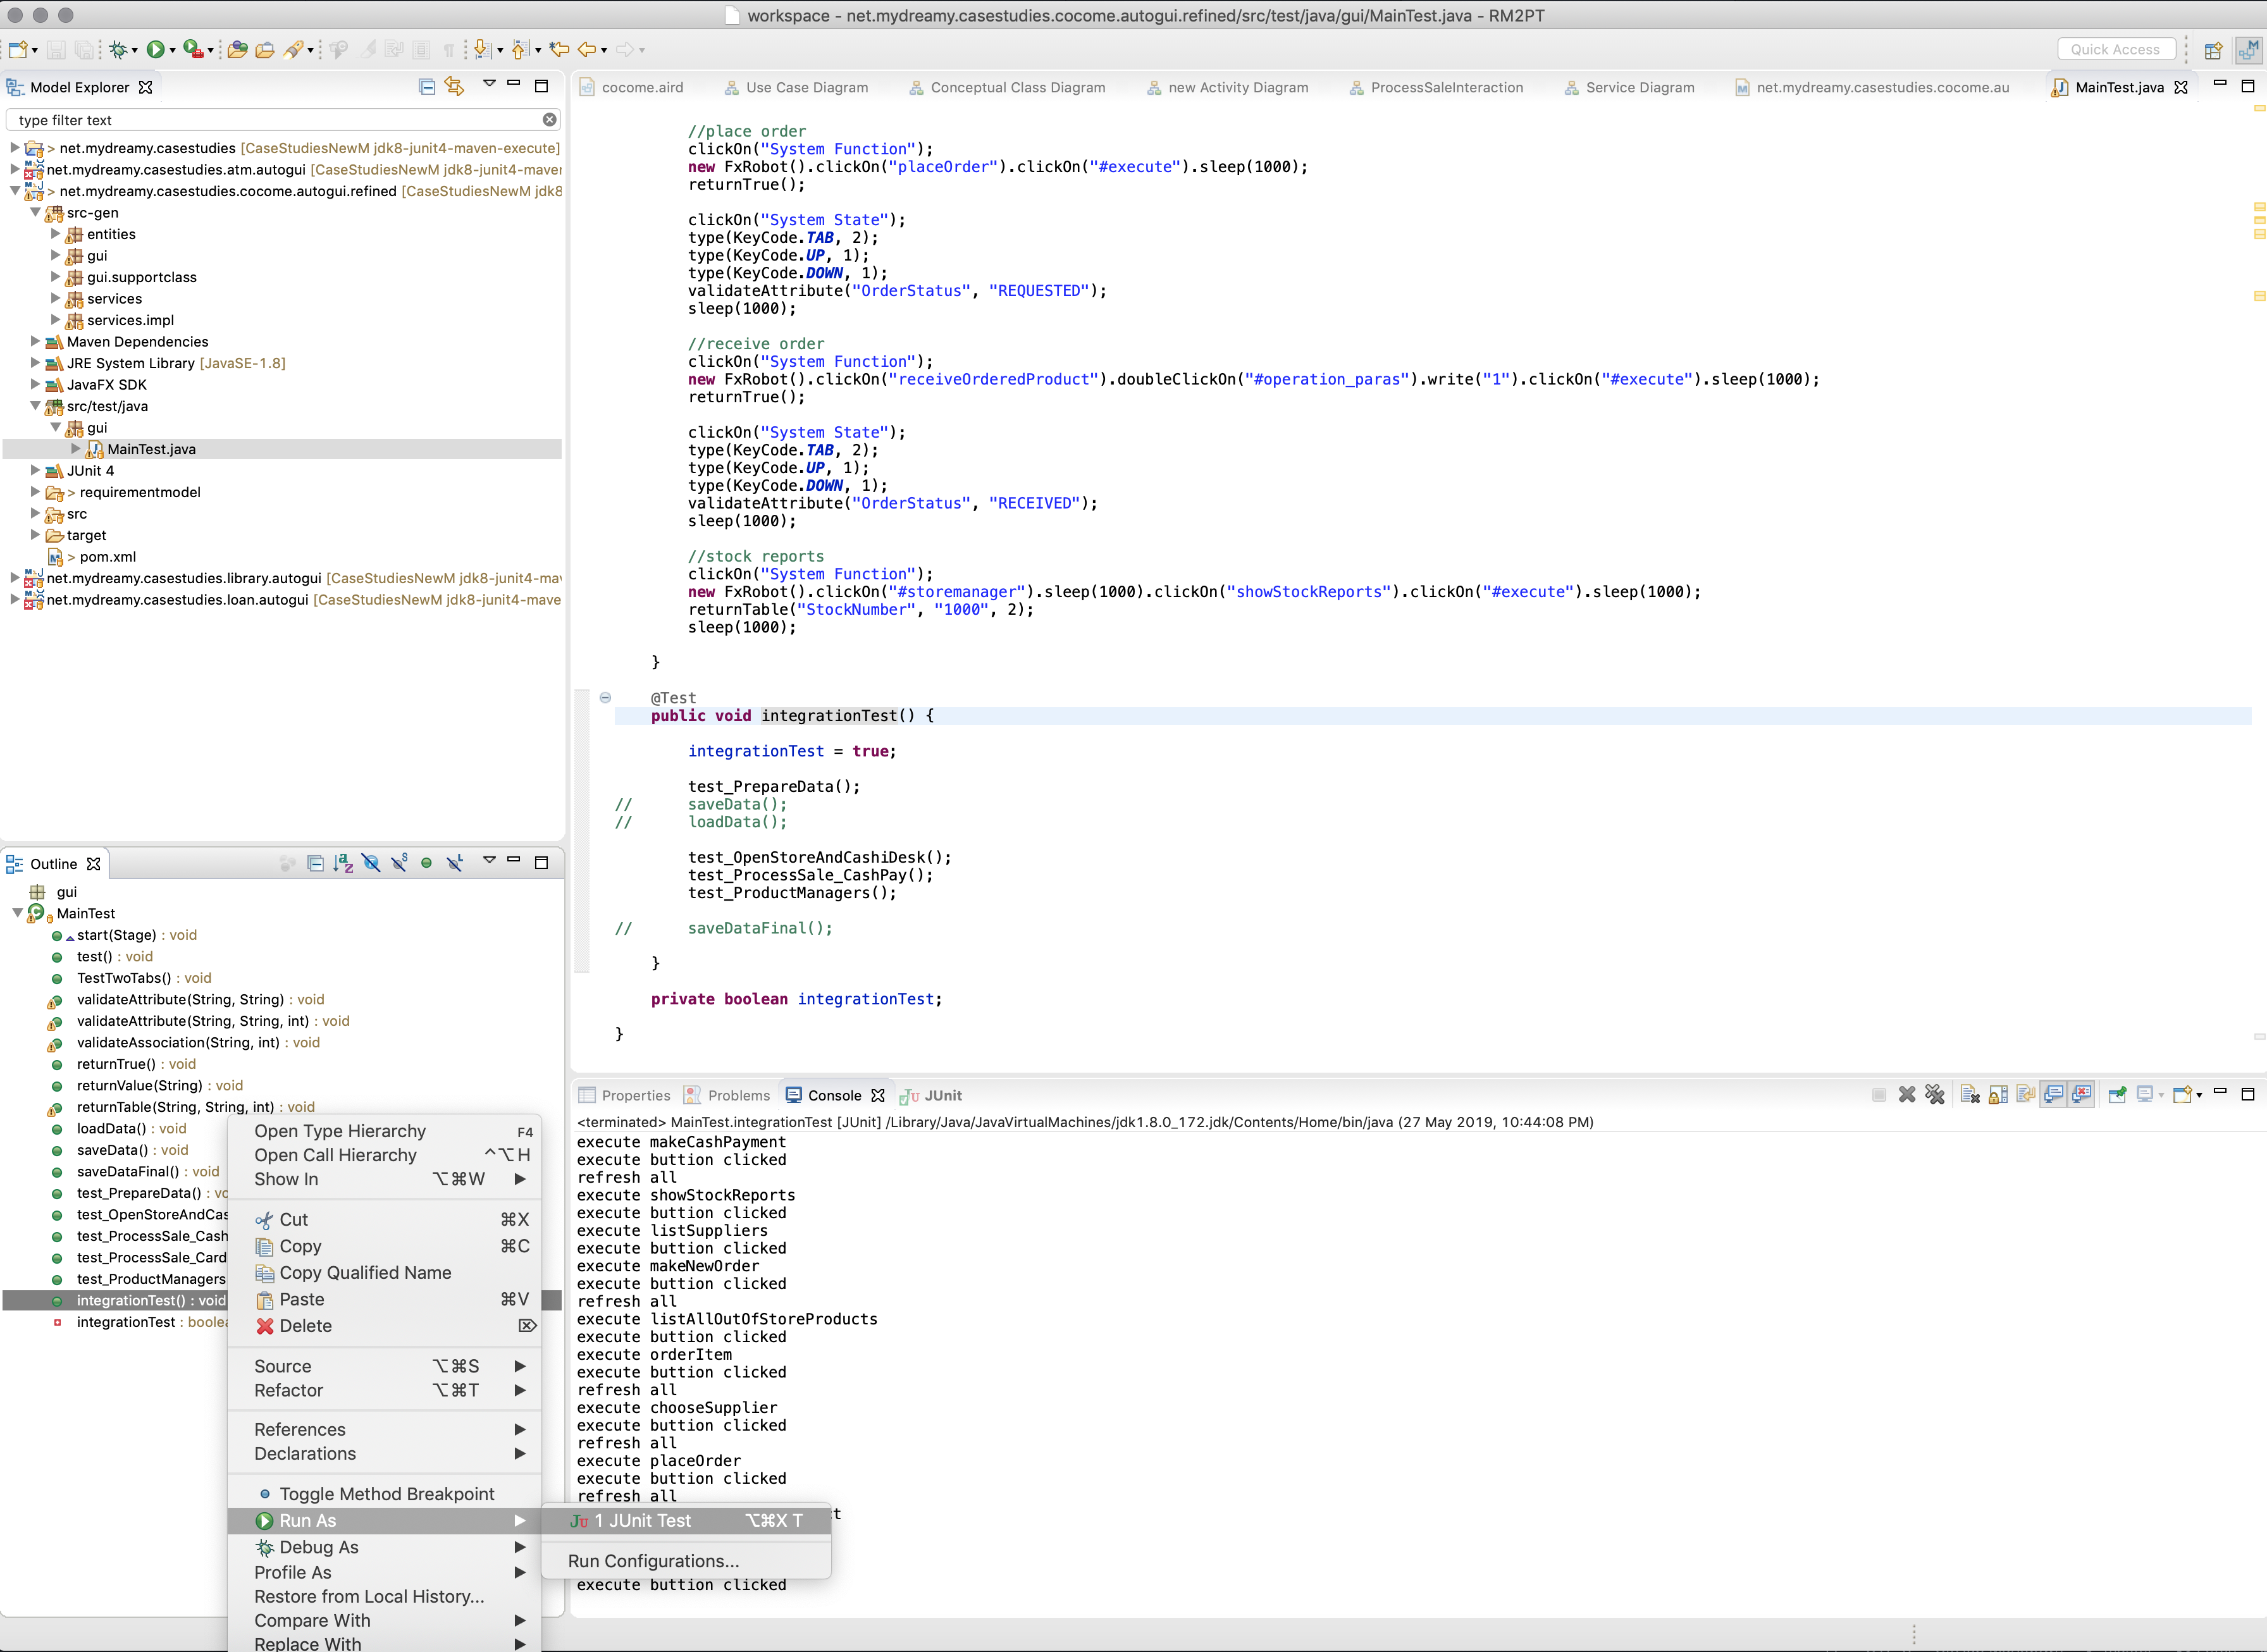
- We also prepare JavaFX GUI test script for you demonstrate the validate procedure by running
src/test/java -> gui -> MainTest.java -> integrationTest(), then watch automated executions on the prototype.
- We also support testing by Maven, right click on
pom.xml->Run->Maven build...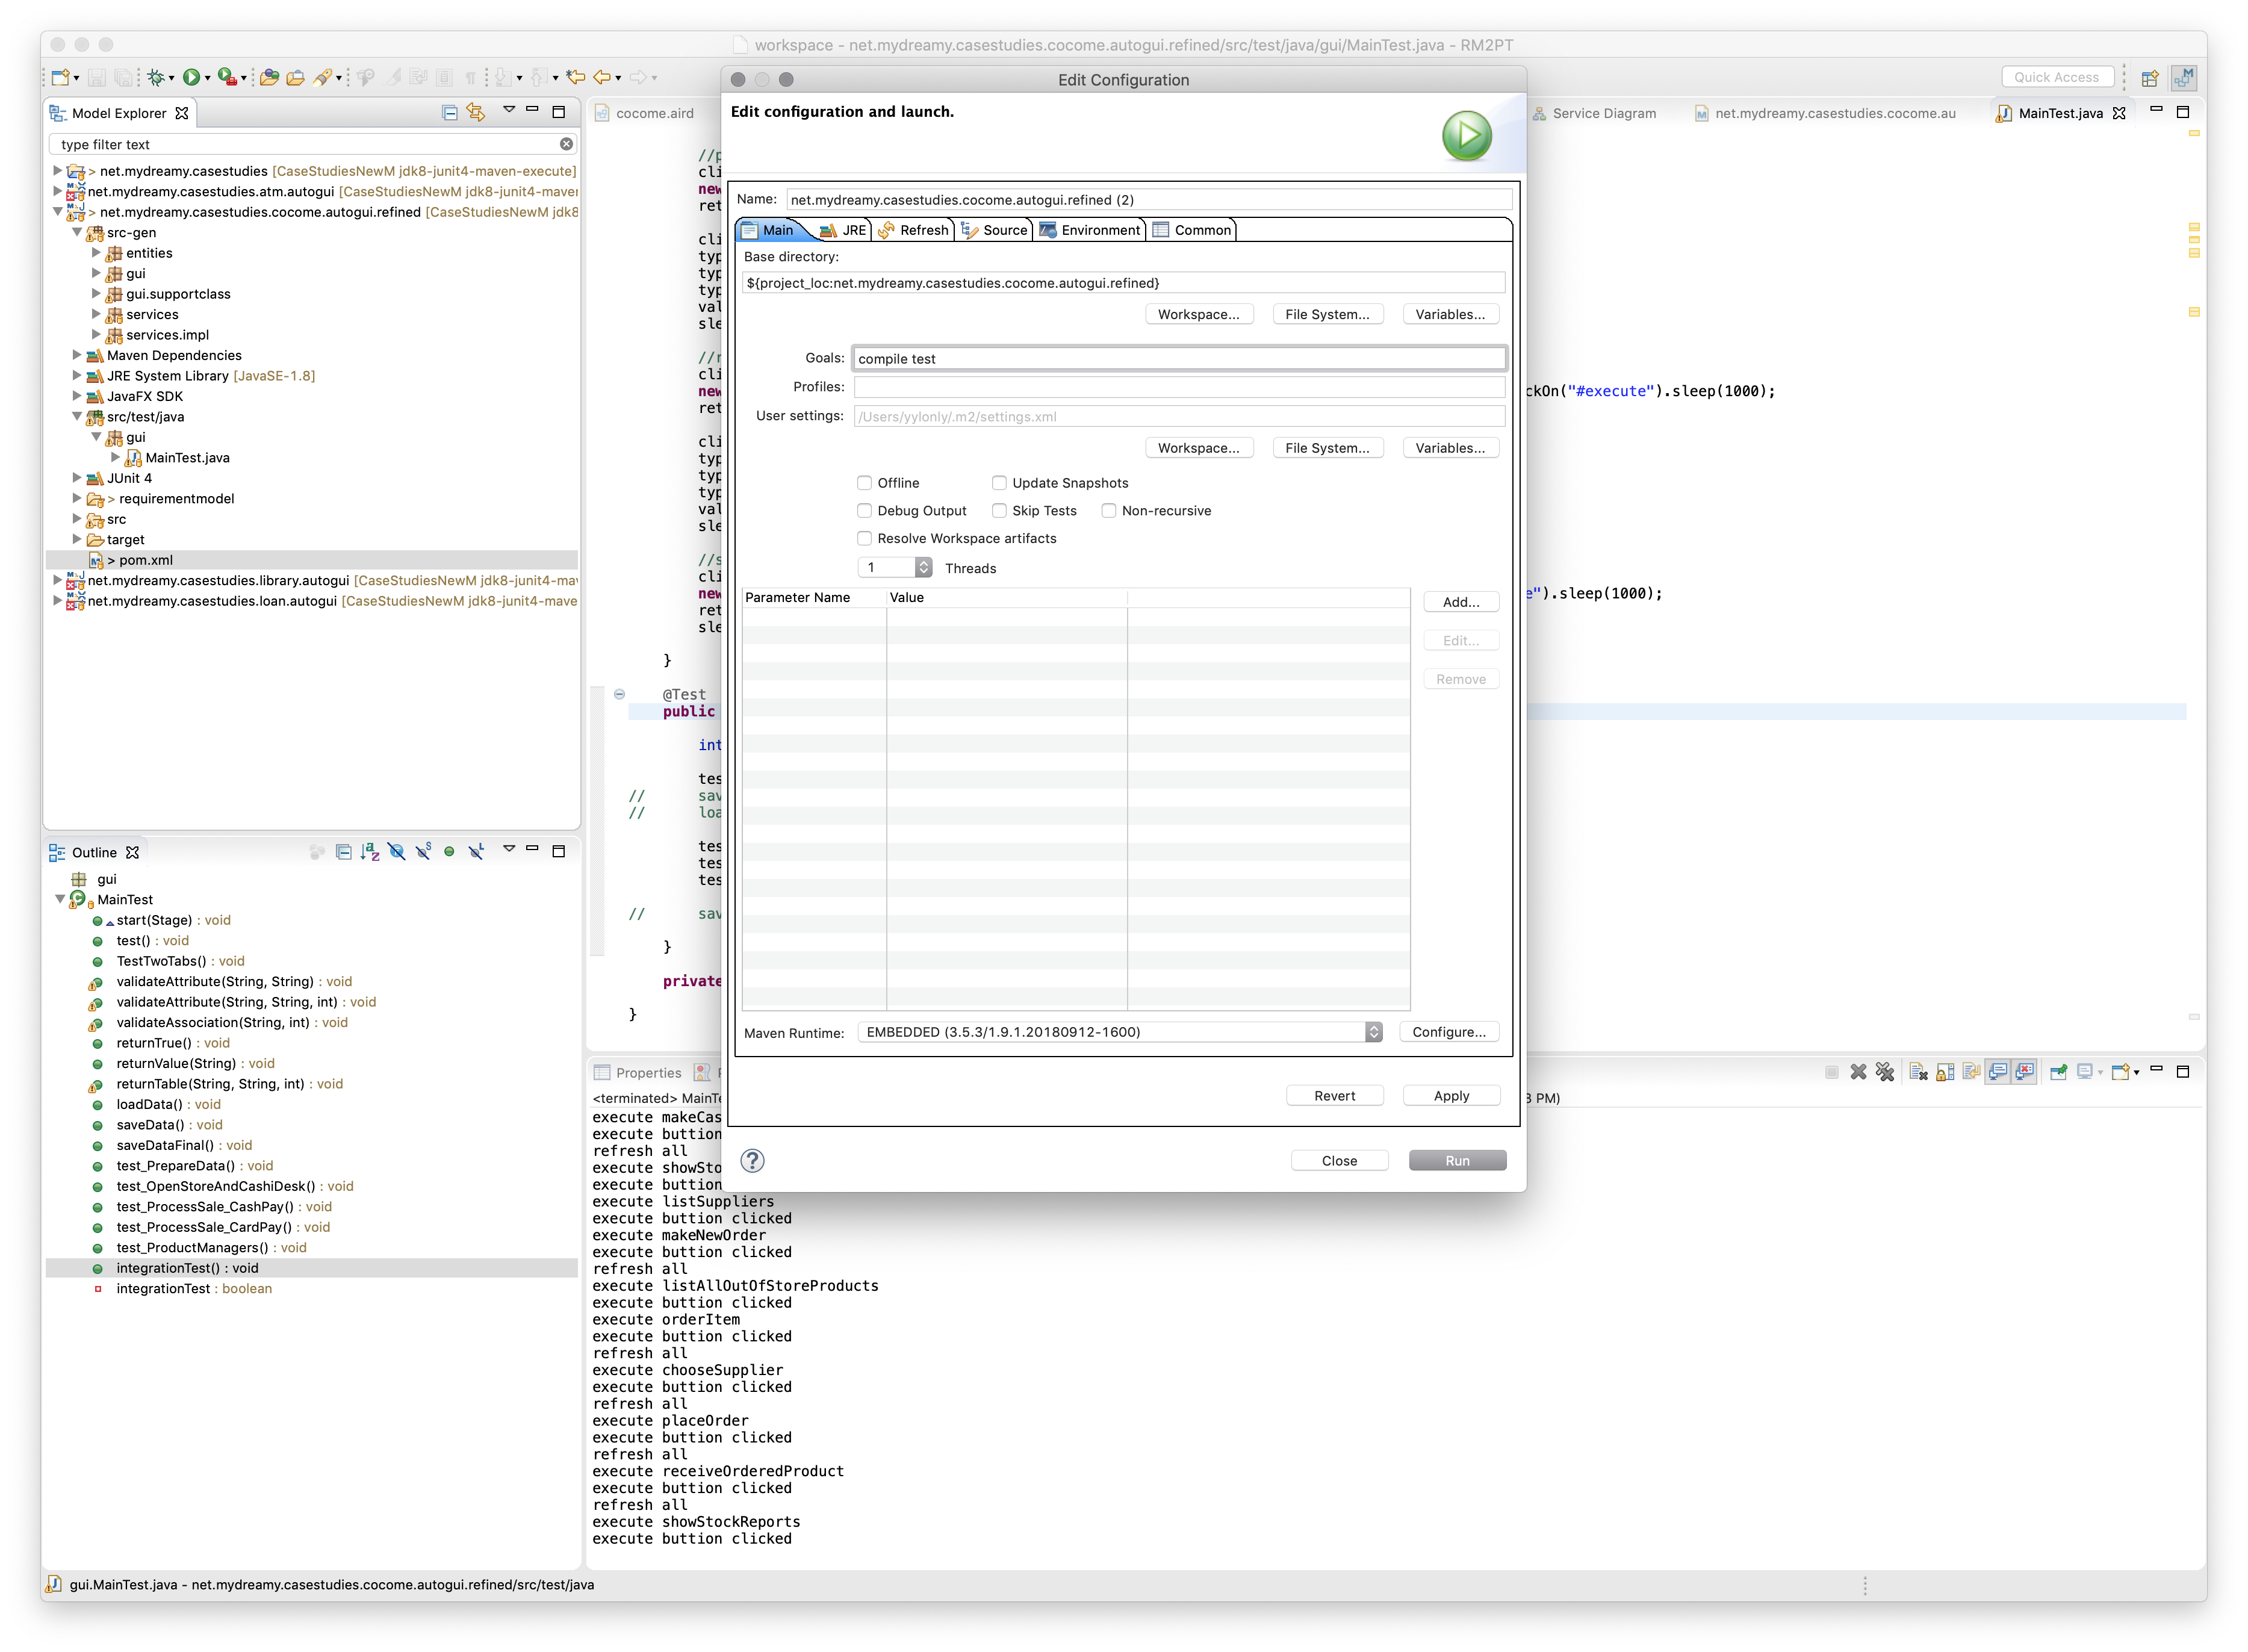
Please note you need setting RM2PT to control your computer before running the integration testing script. Detail setting